Now let us start 1C:Enterprise in Designer mode.
- In the 1C:Enterprise startup window, select the newly created infobase, and click Designer (see fig. 1.8).
The Designer window is displayed (fig. 1.9).

Fig. 1.9. Designer window
This is the tool you will use to create your applied solution. The Designer mode menu bar is located right below the window title. It includes menus: File, Edit, Configuration, Debug, and more. Each menu contains commands that perform various actions in Designer.
The Designer mode toolbar is located under the menu bar. The toolbar contains the icons for accessing frequently used actions that are also available in the menus.
Hence, many common actions can be performed using any of the two methods: by selecting a menu command or by clicking a toolbar button.
A large number of unfamiliar icons often confuse a novice developer. But there is nothing to worry about. In time, you will be able to distinguish them easily. Simply point to any button to view a tooltip that describes the button function (see fig. 1.9).
Chances are that you will initially prefer the menus but eventually, you will begin to use the toolbar more because it saves clicks. You have the option to customize the toolbar by adding or removing buttons (fig. 1.10).
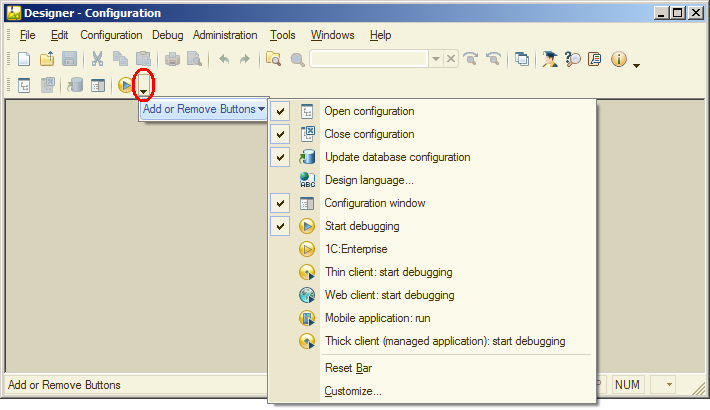
Fig. 1.10. Customizing Designer toolbar
Next page: Configuration object tree

