Let us test the new form.
- Start 1C:Enterprise in the debug mode.
- Open the list of employees.
You can see that the Services button is now available. - Click the Services button.
This opens the list of Services documents with technician equal to the selected employee (fig. 27.41).
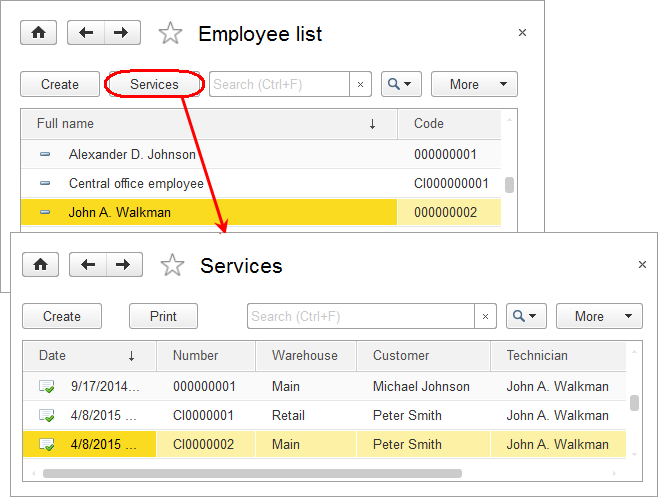
Fig. 27.41. Filter by technician in the Services document list.
However, it is not that simple. To create filters and other dynamic list settings, you have to know the settings types and their priorities.
As we have mentioned earlier, dynamic lists are based on the data composition system. When a form is opened, the list settings are stored to the SettingsComposer property of the dynamic list.
Three types of dynamic list settings are available:
- Fixed settings, which are specified using 1C:Enterprise script and stored to the SettingsComposer.FixedSettings dynamic list property.
- Settings specified in Designer, which are stored to the SettingsComposer.Settings dynamic list property.
- User settings, which are specified in 1C:Enterprise mode and stored to the SettingsComposer.UserSettings dynamic list property.
The user settings are loaded from the system storage and added to the settings specified in Designer. If a settings conflict occurs, the user settings override the settings specified in Designer.
Then the fixed settings are added to the resulting settings. If a settings conflict occurs, an error is displayed. For example, when a list form is opened with a filter (in this case it is a filter by Technician field), the filter is stored to the fixed settings. Therefore, users cannot set a list filter by this field.
So, if you want to give users the option to filter the list by field included in the fixed list settings, you have to remove the filter from the collection of fixed settings (SettingsComposer.FixedSettings.Filter) and then add it to the main list settings (SettingsComposer.Settings.Filter).
Next page: In Designer mode

