Once the installer completes the preliminary actions, it displays the welcome page.
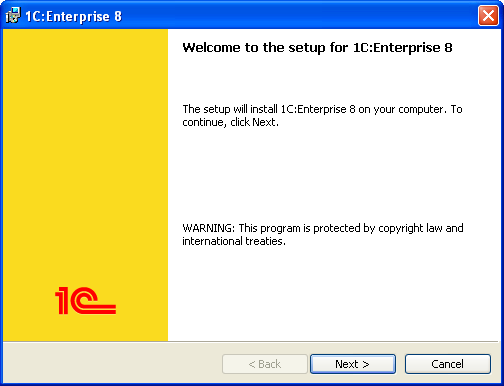
Fig. 3. Installer welcome page
Click Next to continue.
Further installer behavior may vary depending on the availability of previous 1C:Enterprise installations.
The installer prompts you to select the components to be installed.
In the Install to field, specify an installation directory. The installer will copy the selected components to this directory.
You can use the default installation directory or click Change to specify another directory.
Once you select the components and specify a directory, click Next.
During the first installation, the installer suggests that you install the 1C:Enterprise component. This component includes all the platform features: thick and thin clients, as well as configuration development and administration tools.

Fig. 4. Selecting basic 1C:Enterprise components to install
If you do not need any customizations, click Next.
If you only need to install the thin client to connect to an infobase located on a server or a web server, select 1C:Enterprise – Thin client.

Fig. 5. Selecting thin client components for client/server mode
Click Next to proceed with the installation.
If you only need to install the thin client to work with a file infobase, select 1C:Enterprise – Thin client, file mode.

Fig. 6. Selecting the thin client component for file mode
Next page: Selecting interface language
