Let us add the PastEmployment tabular section.
- Click the Add tabular section button
 (fig. 3.40).
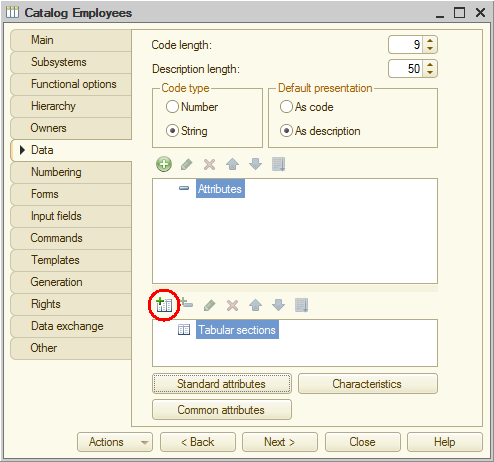
Fig. 3.40. Adding a tabular section - In the Name field, type PastEmployment (fig. 3.41).

Fig. 3.41. Adding a tabular section
Then let us create the tabular section attributes. - Click the Add attribute button
 (fig. 3.42)
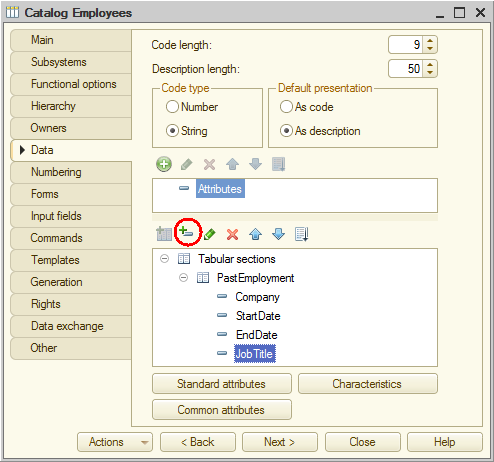
Fig. 3.42. Adding a tabular section attribute - Add the following attributes:
- Company. Type: String, length: 100
- StartDate. Type: Date, date contents: Date
- EndDate. Type: Date, date contents: Date
- JobTitle. Type: String, length: 100.
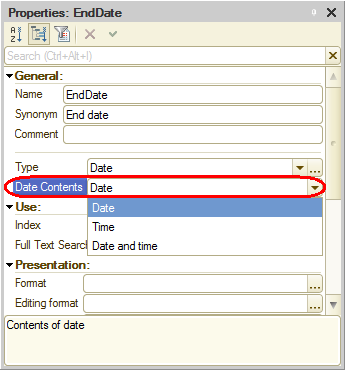
Fig. 3.43. Tabular section attribute properties
Finally, let us edit the command interface of the Payroll section to simplify the creation of catalog items (make the standard employee creation command visible). - Open the editor of the Payroll subsystem configuration object and click the Command interface button.
This opens the Command interface window that lists all of the subsystem commands. - In the Action panel.Create group, enable visibility for the Employee: create command.
You can also see that the Navigation panel. Normal group contains the Employees command. It is visible by default (fig. 3.44).
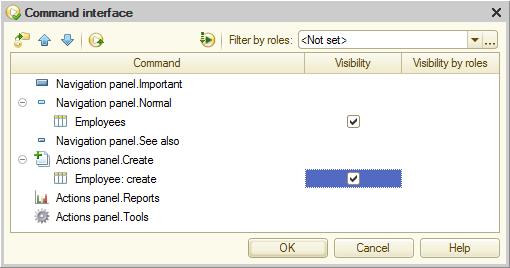
Fig. 3.44. Subsystem command interface settings window
You do not have to add any commands to the actions panel of the Services subsystem because adding employees in this section is not a typical scenario.
You completed the creation of the Employees catalog. - Close the Employees catalog editor and start 1C:Enterprise in the debug mode.
- Confirm that you want to update the configuration.
The platform displays the window that lists the changes in the configuration structure (the new Employees catalog). - Click Accept (fig. 3.45).
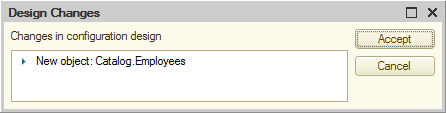
Fig. 3.45. List of changes in the configuration structure