You can customize the list of available sections.
To open the sections panel setup dialog box, on the main menu, point to View and click Sections panel setup.
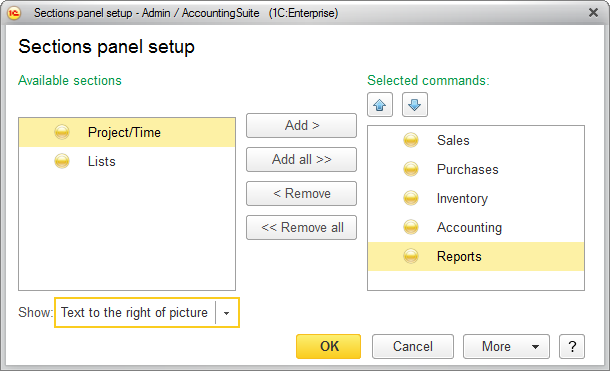
Fig. 187. Sections panel setup form
To add sections to the panel, select them in the list of available sections, and then click Add or drag them to the list of selected sections.
To add all of the available sections to the panel, click Add all. You can also move sections between lists by double-clicking them.
To remove sections from the panel, click Remove or Remove all.
To change the order of sections, select a section and move it by clicking the arrow buttons above the list of selected sections (see fig. 187).
To select the section view, in the Show list, select one of the following:
- Picture. Display section pictures, hide section names.
- Text. Hide section pictures, display section names.
- Text to the right of the picture. Display section pictures and section names to the right of the pictures.
- Text below picture. Display section pictures and section names below the pictures.
To apply the selected settings and close the form, click OK. This saves the settings in the Infobase.
To revert to the default sections panel view, on the More menu, click Set default settings. This does not change the command interface immediately and you can continue with the sections panel customization.
Next page: Customizing navigation panel