4.1 Getting Started with Git in EDT
4.2 Creating and Switching to a New Branch
4.3 Making Changes and Committing
4.4 Summary
When several developers work on the same project, proper coordination and version control become essential. 1C:EDT supports full integration with Git, allowing efficient team collaboration and easy change management.
4.1 Getting Started with Git in EDT
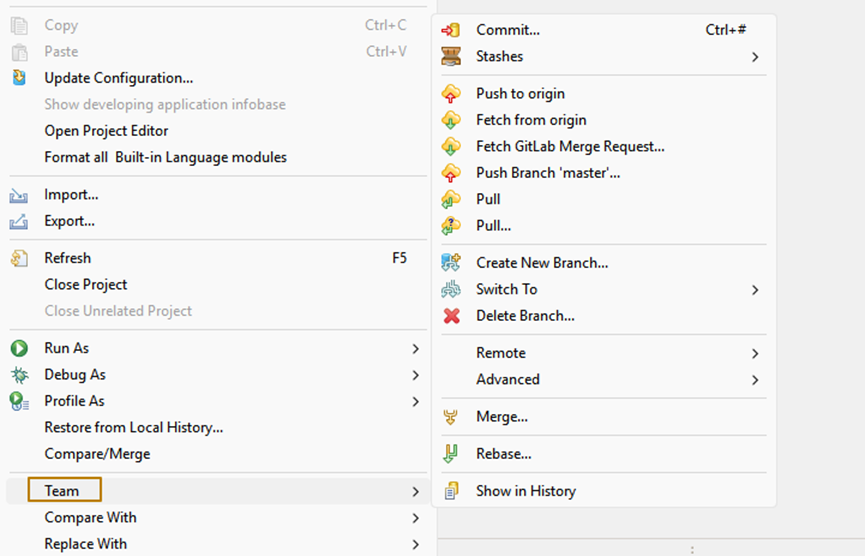
Once you have cloned or connected your project to a Git repository, you can access all Git commands through the project’s Team context menu. Right-click the project in the Navigator and open Team to see the available options.
If you have just cloned a repository, you already have the main (or master) branch in your local copy. Before starting a new task, it is good practice to update your local branch to ensure it contains the latest changes from the remote repository.
-
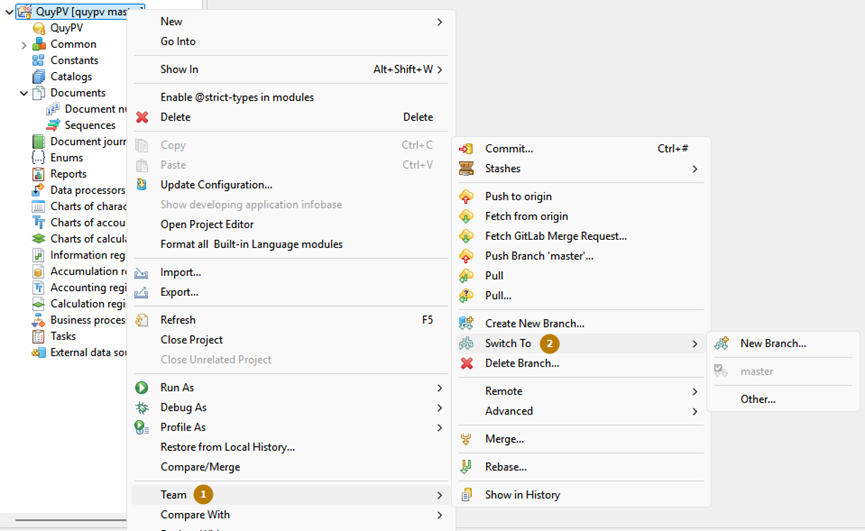
Make sure you are on the correct branch (usually main or master).
-
To switch branches, select Team > Switch To > master.
-
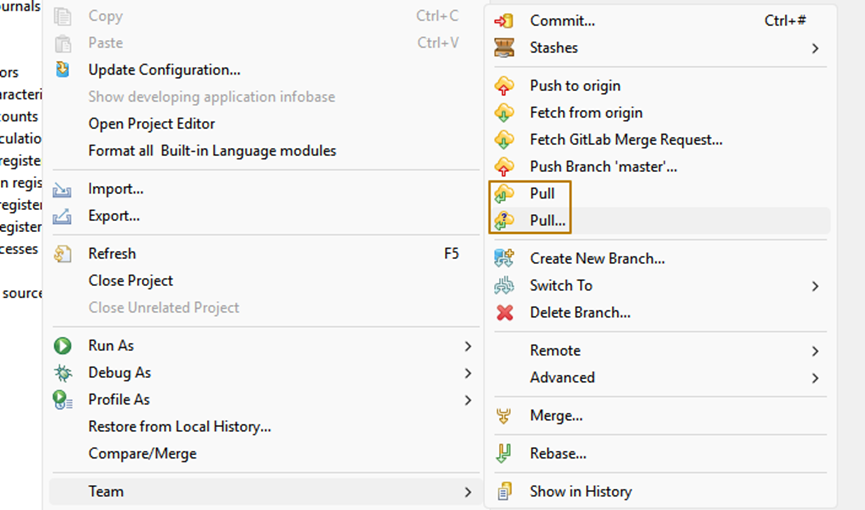
Once you are on the correct branch, run Pull to get the latest updates from the remote repository.
There are two Pull commands: - Pull performs the operation immediately using default settings. - Pull… opens a dialog where you can configure additional options.
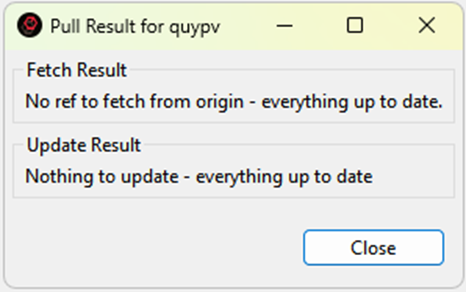
After the pull operation, EDT displays a result window that shows whether new changes were retrieved or if your local branch is already up to date.
4.2 Creating and Switching to a New Branch
When starting work on a new task, create a separate branch for it. This keeps your changes isolated until they are ready to be merged.
You can create a new branch in two ways: - Team > Create New Branch - Team > Switch To > New Branch
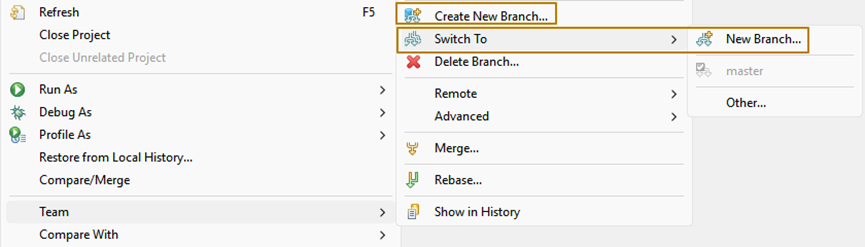
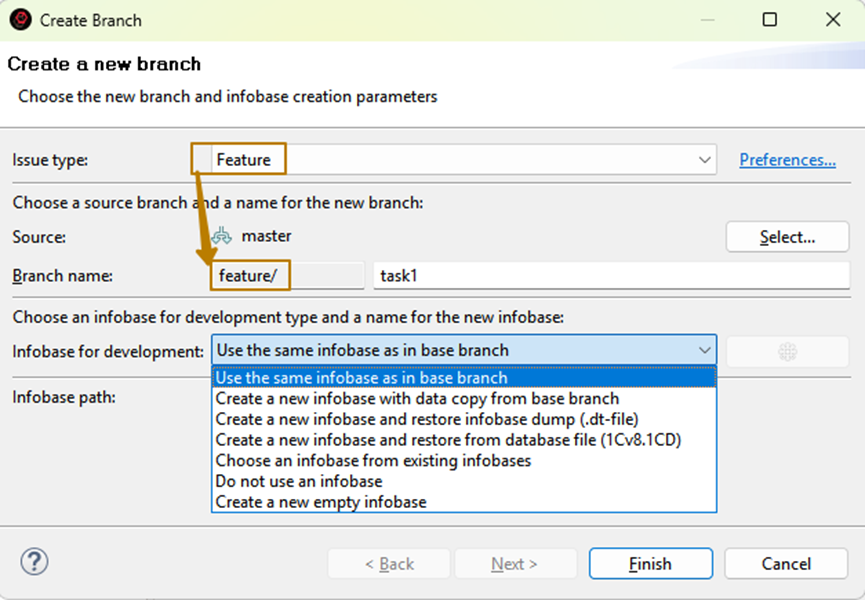
The Create New Branch command provides additional options such as specifying the task type (for example, feature, bugfix, or release) and linking a specific infobase to the new branch.
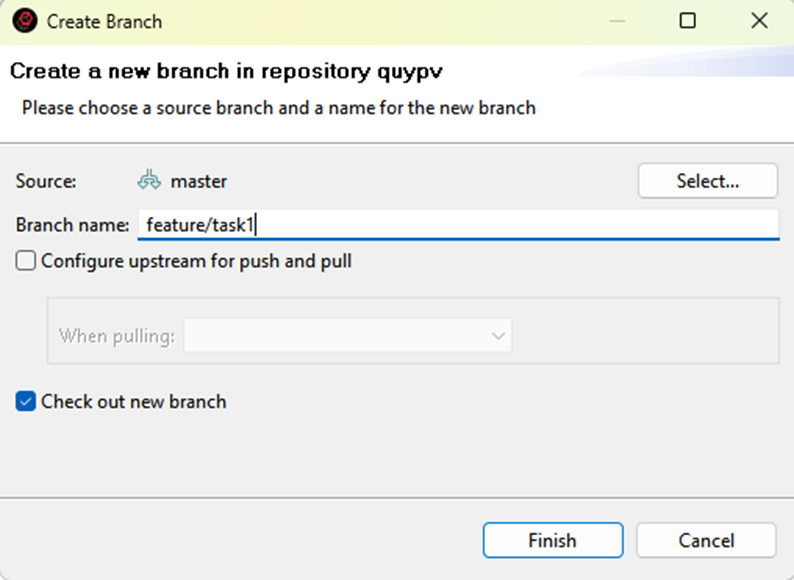
The Switch To > New Branch command is a faster option for experienced developers. It immediately creates and switches to a new branch. You simply need to name it correctly, for example feature/task1 or bugfix/239.
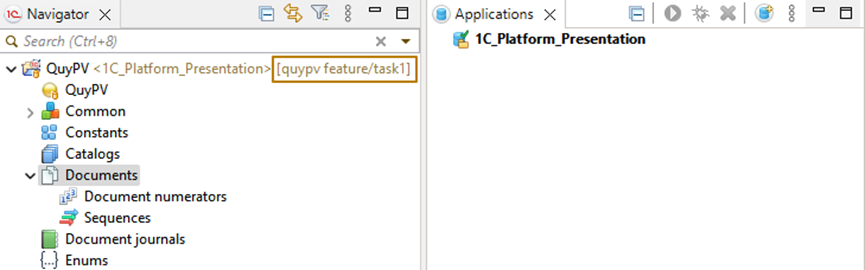
After switching branches, you will see the repository name and current branch name in square brackets next to your project name. This makes it easy to confirm which branch you are working in.
4.3 Making Changes and Committing
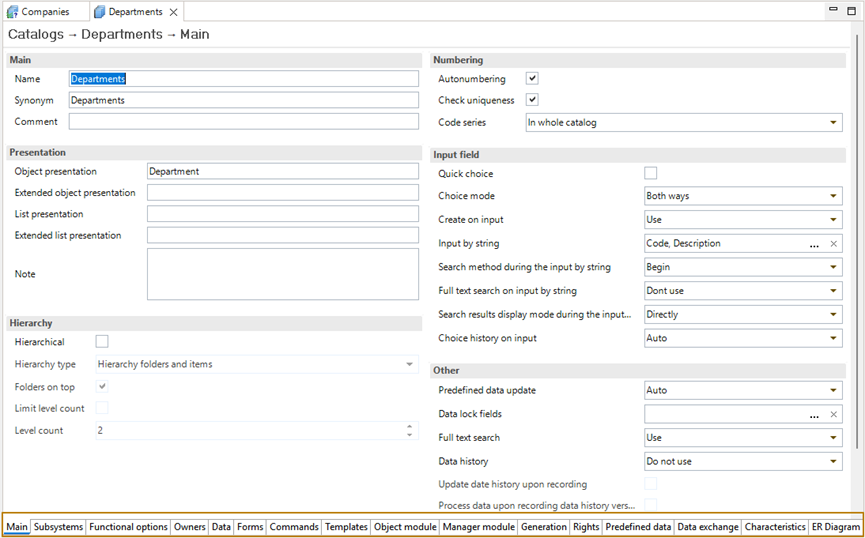
Let’s make some changes to the configuration as part of our task. For example, create two new catalogs named Companies and Departments.

In EDT, the object editor offers an updated and more convenient interface compared to Designer. It allows quick access to key sections such as Data, Owners, Forms, Object Module, and Manager Module.
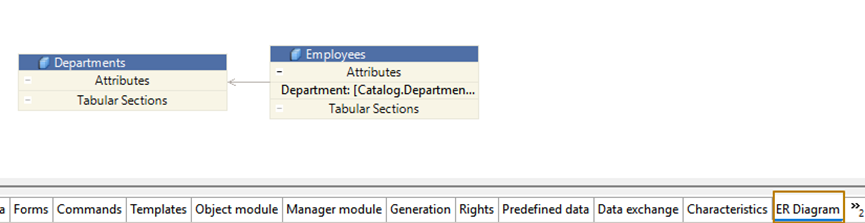
You can also visualize relationships between objects using ER diagrams. To see them, open the object and switch to the ER Diagram tab. This diagram displays links between metadata objects, which is especially helpful in complex projects.
After making your changes, it is time to commit them.
-
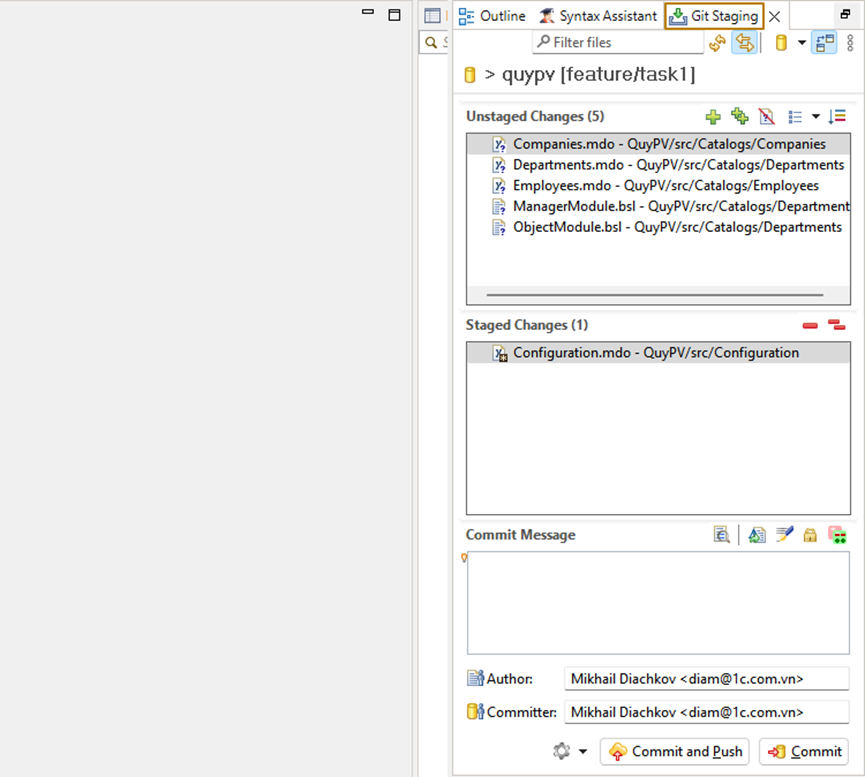
Right-click the project and select Team > Commit.
-
The Git Staging panel will appear, showing two lists: Unstaged Changes and Staged Changes.
-
Move the files you want to include in the commit to the staged list. You can use the Add All Files button if needed.

-
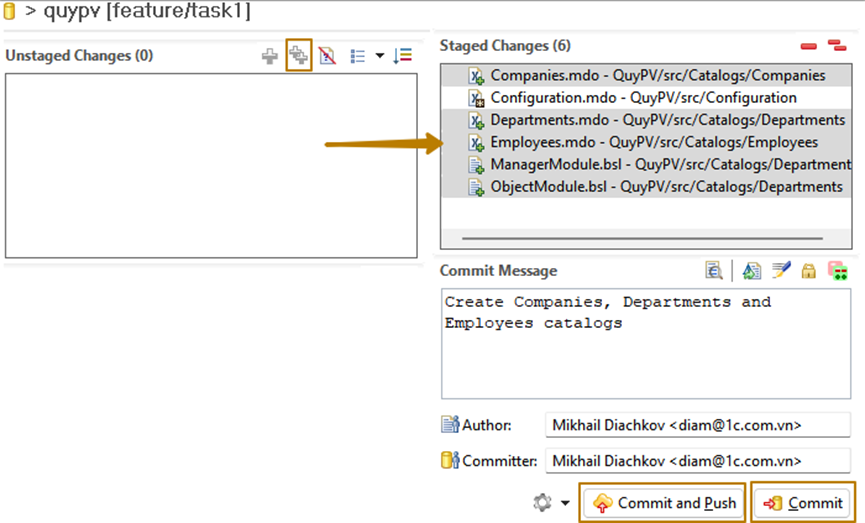
Enter a clear commit message, for example, Created Companies and Departments catalogs.
-
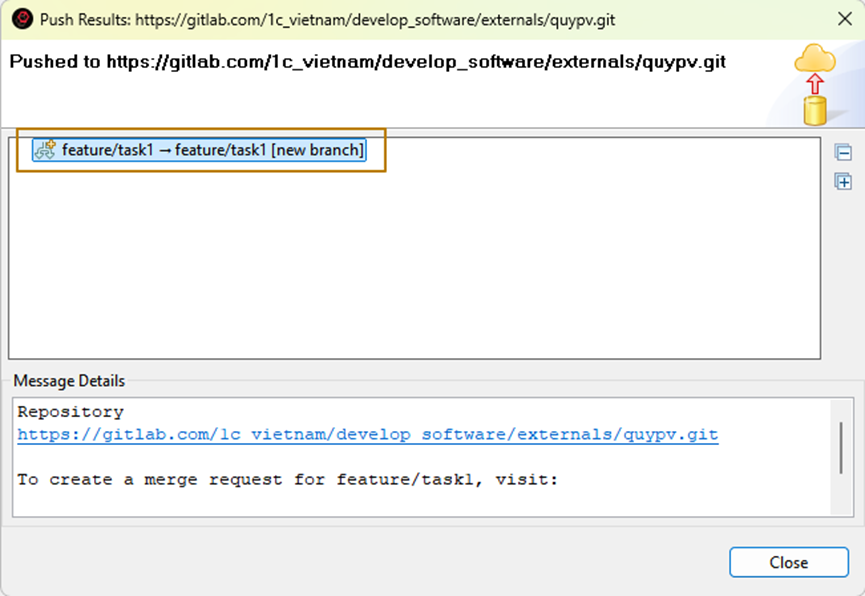
Click Commit and Push to send your changes to the remote repository. If you prefer to commit locally for now, click Commit instead.
After pushing, EDT confirms that the changes were successfully sent. A new branch with your commit will now appear in the remote repository.
4.4 Summary
You have now learned how to:
-
Synchronize your local branch with the remote repository,
-
Create and switch to new branches for separate tasks, and
-
Commit and push changes safely to the shared project.
In the next section, we will look at how to configure run and debug settings in EDT, allowing you to test your work efficiently under different user profiles and environments.