Data Separation
The data separation mechanism lets you store data from multiple independent organizations in a single infobase.
This is possible because a common attribute of configuration objects can be used not only as a shared attribute present in all objects, but also as an identifier for assigning data to a specific independent area. Here is how this works in practice.
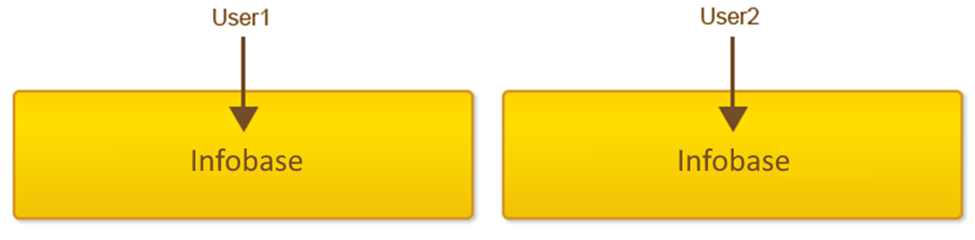
Suppose your configuration includes a common attribute called “Organization.” This means every catalog, document, or other configuration object will also have the “Organization” attribute.
At the same time, any user of the infobase can access all the data stored in the infobase, regardless of which organization is specified in any document.
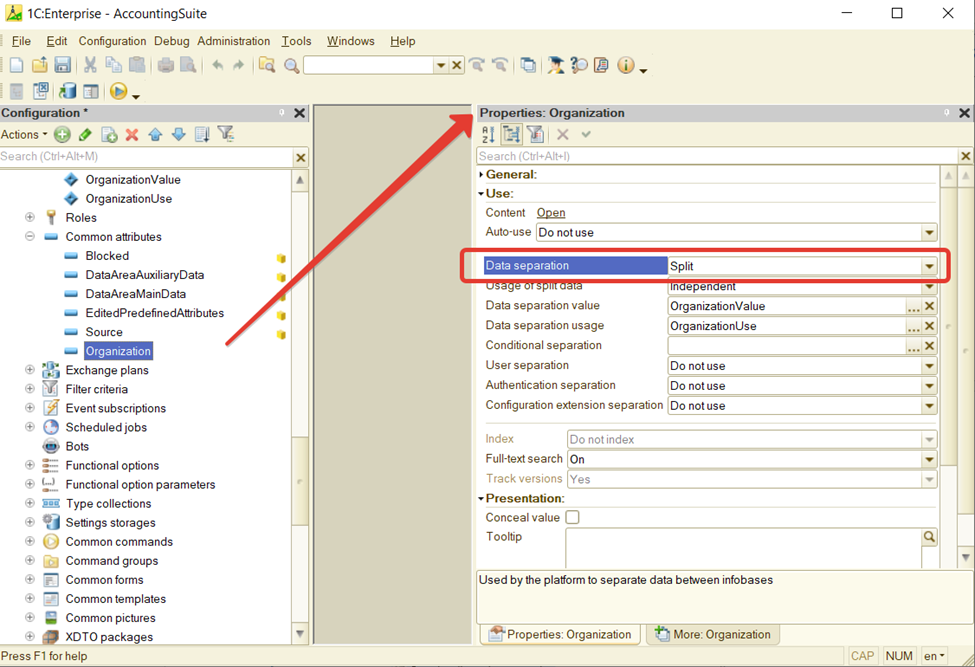
Now, let’s set the common attribute “Organization” as a separator.
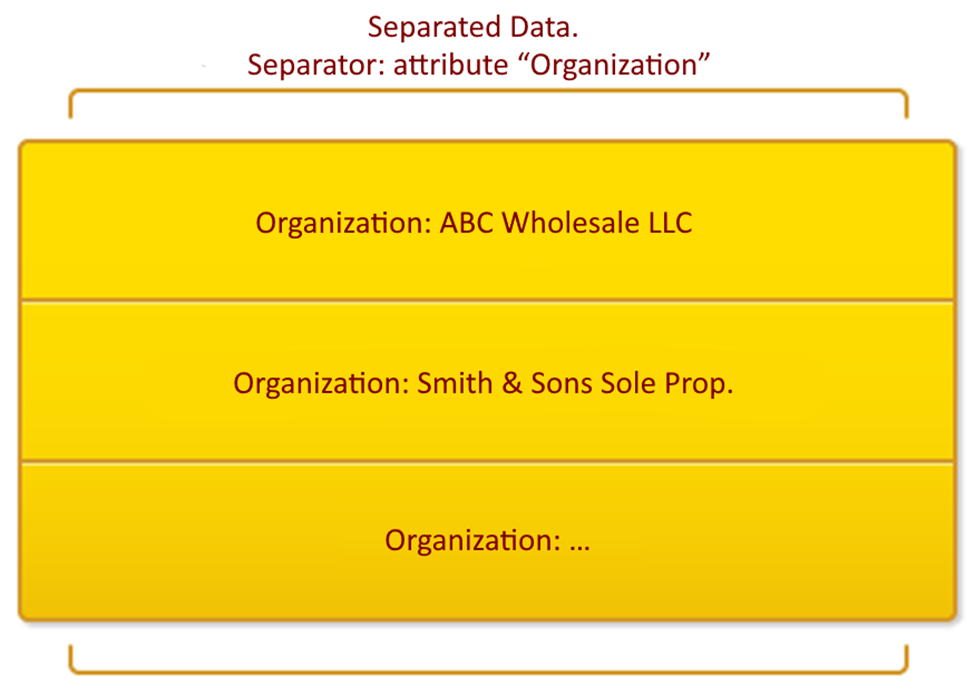
As a result, the infobase will contain several independent data areas. Each area will only store data for one specific organization.
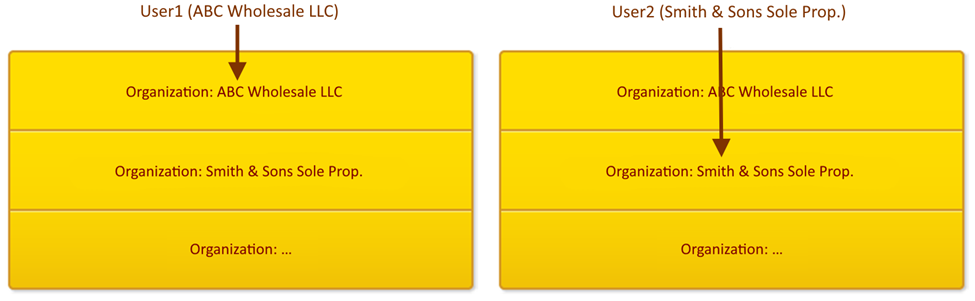
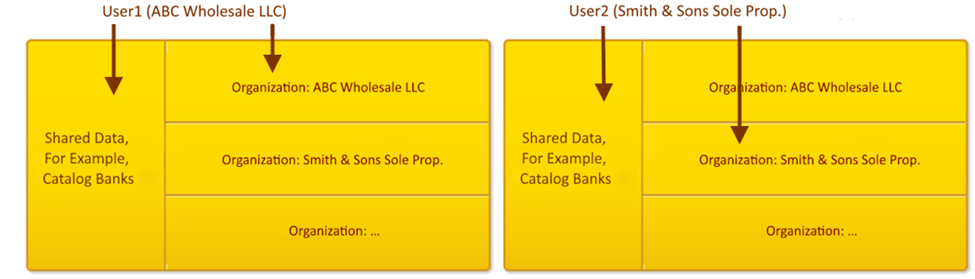
Now, when users log in, they see only the data in their own area. For example, they will see their documents, catalogs, and other reference information for their organization. Users do not see all the information in the infobase.
It is also possible to use this mechanism so that the infobase has several independent data areas, but also contains some data that is available to all users of the system. For example, you may have a shared list of banks that is the same for every organization.
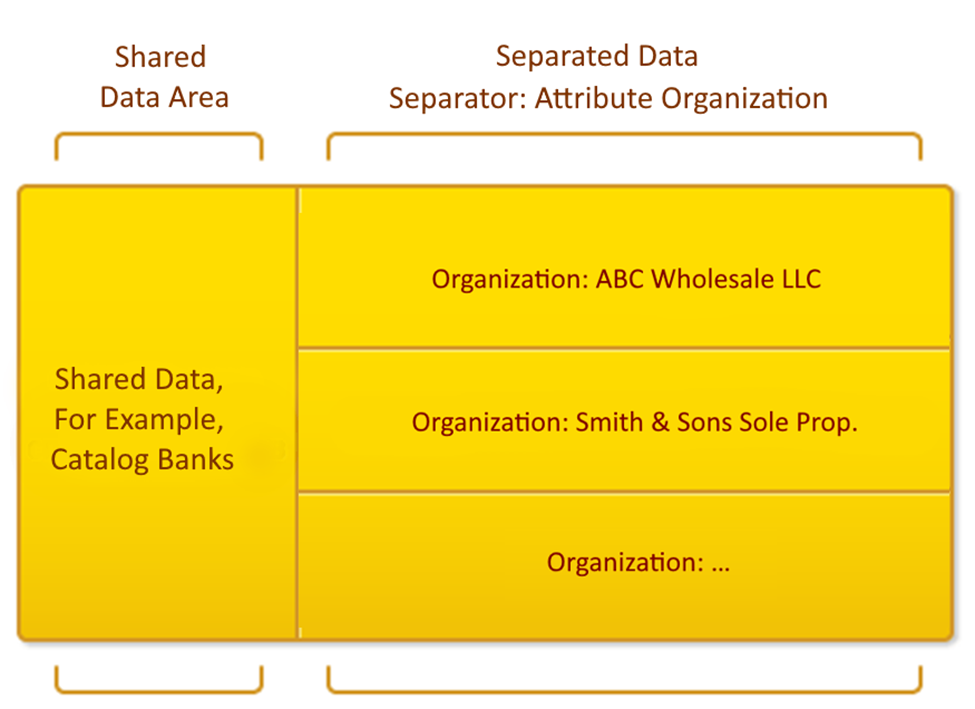
In this setup, the user can access both their own data area and a shared area with information that is available to everyone.
The data separation mechanism is flexible and universal:
- You can use more than one separator.
- There are several modes for using separated data. These modes differ in how they handle situations when no value for a separator is specified.
- The use of a common attribute as a separator can be managed at runtime from the 1C:Enterprise language without changing the configuration. This is called conditional separation.