Overview
It’s straightforward to publish your 1C configuration to a web server. This article will walk you through the set-up.
Publishing your 1C infobase allows users to have a full experience through their browser, without installing the platform or any additional software. All you need is to provide a link to the user (but bear in mind that every active session amounts to a license). You may publish a configuration for platform versions 8.2 and higher.
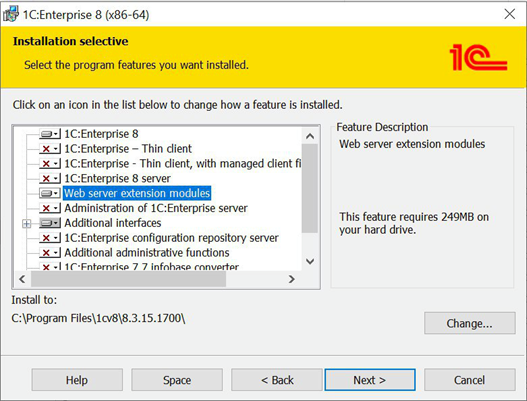
Currently, the platform supports the IIS and Apache web servers. Before you start, make sure you’ve installed the webserver extension modules (x86 or x64) on your workstation.
Web server installation
IIS
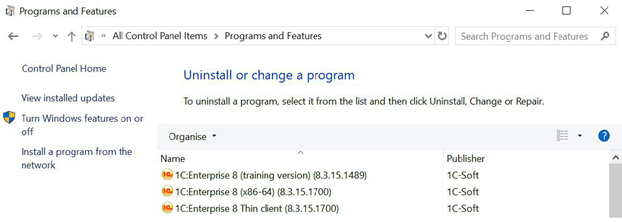
1. Open Control Panel and search for Programs and Features
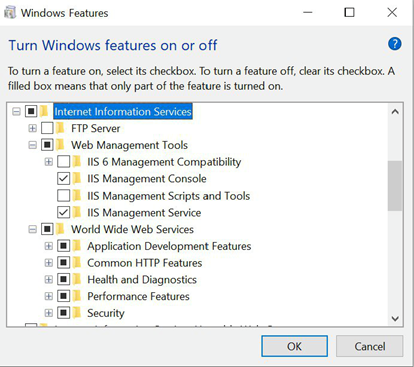
2. Click on Turn Windows features on or off
3. Enable Internet Information Services and World Wide Web Services. Apply changes.
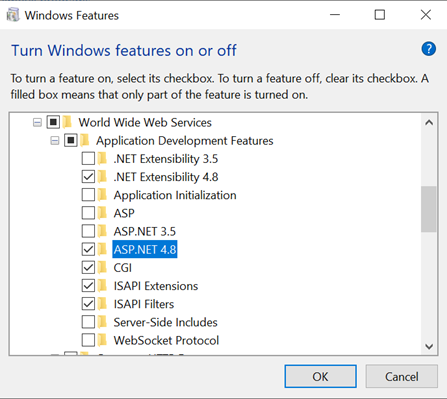
Enable additional required packages in Application Development Features (CGI, ISAPI, ASP .NET, Websockets).
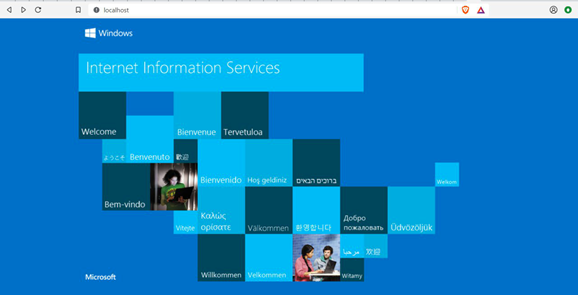
4. Open your browser and navigate to http://localhost. You should see the default page below. Check your firewall settings if you don't see the default page.
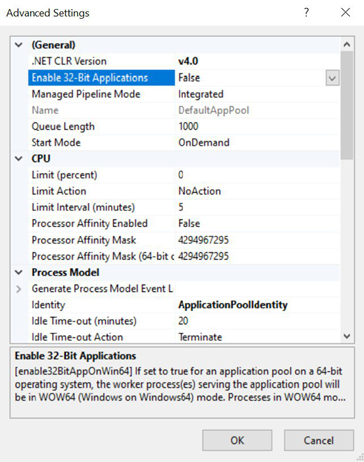
5. If you want to enable x86 in IIS, open IIS Manager, go to Advanced Settings for Application Pools and set the property Enable 32-Bit-Applications to True
6. If your infobase is file-based, provide write access to your configuration path to the IUSR user
7. Run 1C as administrator and open Administration > Publish to web server...

8. Press Publish in the dialog window
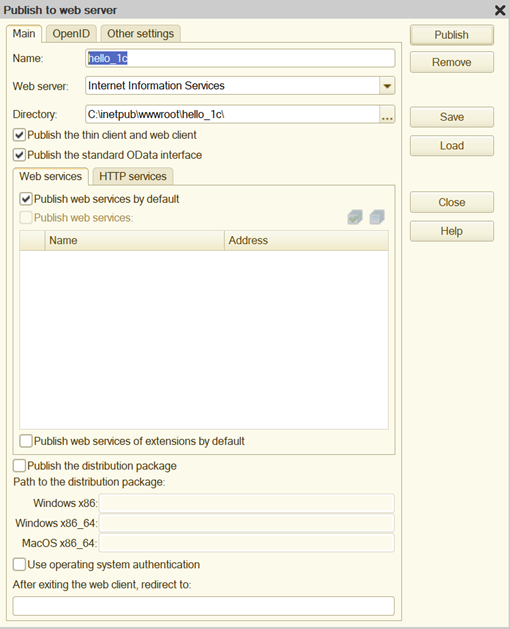
Name – your infobase will be published under this pathname (http://hostname/Name)
Web server – the web server you're going to use (Internet Information Services or Apache)
Directory – path to web server virtual host directory. 1C will detect it automatically.
Publish the thin client and web client – ticking this allows you to access the infobase through both the web and thin clients.9. Your infobase is now on web!

Apache
- Download and install Apache (supported versions are 2.0, 2.2, 2.4)
- Set Network Domain and Server Name as localhost
- Just follow the steps 7 through 9 from the IIS setup above to publish your infobase.
Next page: Publishing 1C configuration via HTTPS protocol in IIS