Let us enhance the applied solution interface by adding subsystem pictures.
- In the Picture field, click the selection button
 (see fig. 2.4).
 - In the Select picture window, on the From configuration tab, click Add (fig. 2.5).
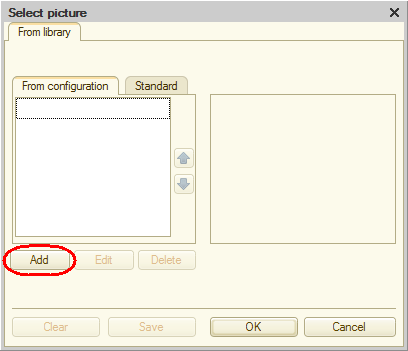
Fig. 2.5. Adding a subsystem picture
The platform creates a Common picture configuration object and opens its editor window. - In the Name field, enter Accounting.
- Click Load from file (fig. 2.6).
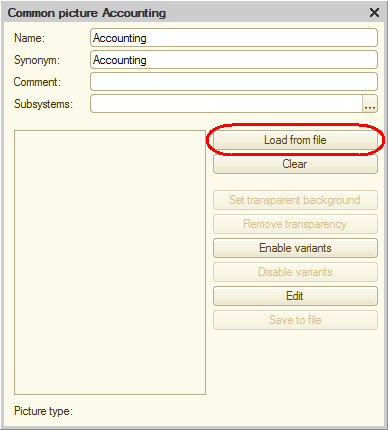
Fig. 2.6. Configuration object editor of a common picture - Browse to the Pictures folder in the book distribution kit, select the Accounting.png file, and click Open (fig. 2.7).
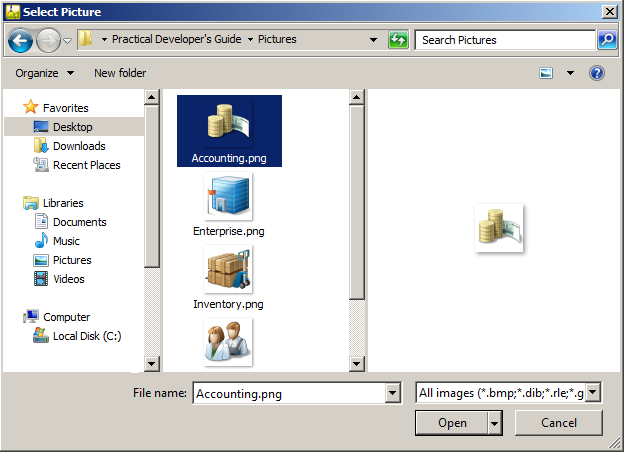
Fig. 2.7. Selecting a subsystem picture
The selected picture is displayed in the common picture editor window. - Close the Common picture configuration object editor.
You can see that the list in the Select picture window now contains the picture that you added. - Click OK (fig. 2.8).
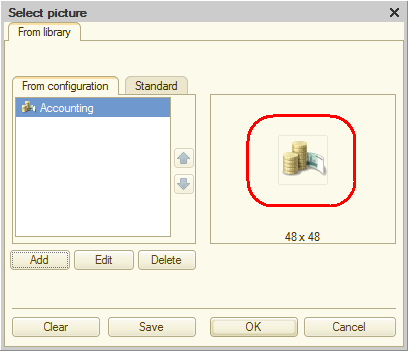
Fig. 2.8. Selecting a subsystem picture
Once you are done, the Accounting picture is added to the Common pictures branch of the configuration object tree. You can edit this picture and use it in your configuration (fig. 2.9).
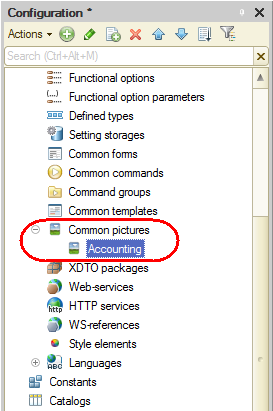
Fig. 2.9. Common pictures in the configuration object tree
When you return to the Accounting subsystem configuration object editor, you can see that the picture you selected is now assigned as the subsystem picture (fig. 2.10).
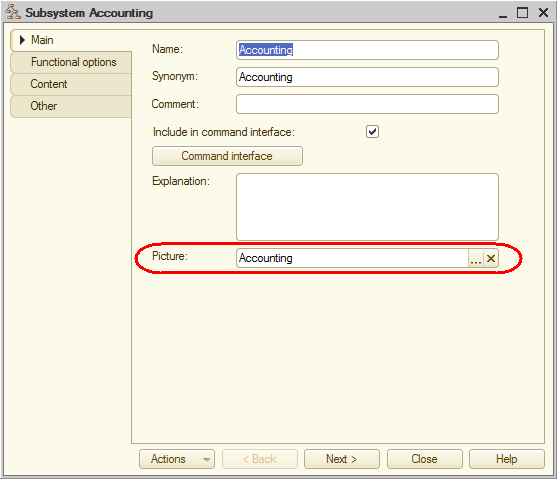
Fig. 2.10. The selected picture is assigned to the subsystem
In the 1C:Enterprise interface the subsystem synonym serves as the section name, while the picture is displayed near that name.
If a subsystem does not have a picture, the section is displayed in the interface with the default picture. - Click the Subsystems branch and then, in the configuration object tree, click the Add button to create the Inventory and Services subsystems. Assign the Inventory and Services common pictures to these subsystems (you have to load them from the Inventory.png and Services.png files first) using the same procedure that you used for the Accounting Subsystem.
Now let us use another method of adding subsystems. - Right-click any of the available subsystems and point to Add.
This menu item includes two subitems. Clicking Subsystem adds a subsystem of the same hierarchy level as the selected one. Clicking Subordinate Subsystem adds a subsystem that is subordinate to the selected one (fig. 2.11).
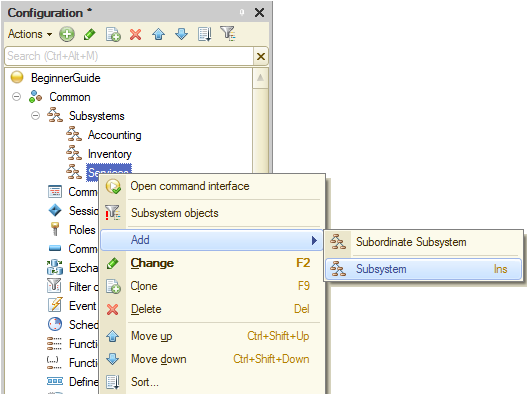
Fig. 2.11. Adding a subsystem
Since we are not planning to have a complex multilevel structure in this configuration, the first option will do. - Click Subsystem and add the Payroll subsystem. Assign the Payroll picture to this subsystem (you have to load it from the Payroll.png file first).
- Add the Enterprise subsystem, and then add a picture to it.