Let us check the history panel position.
- Start 1C:Enterprise in the debug mode.
Note that the history panel is displayed at the bottom of the applied solution window. You can open any of the recently modified catalog items by clicking a link in this pane (fig. 3.34).
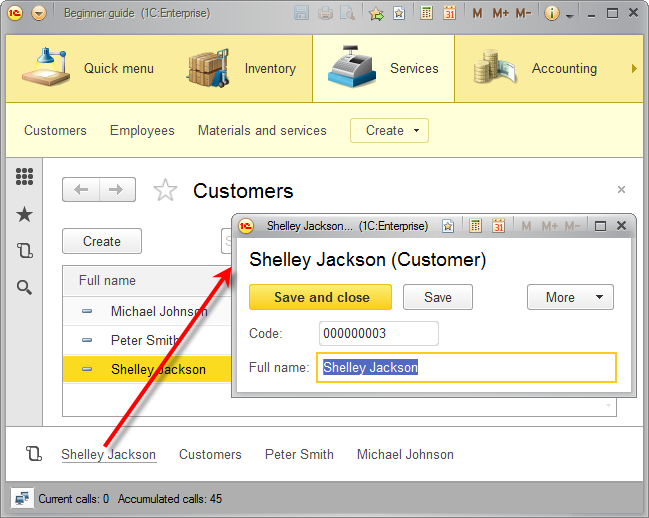
Fig. 3.34. Opening customers from the history panel
Now let us hide the history panel in 1C:Enterprise mode because you do not always need it and it takes up the screen space. - On the main menu, point to View and click Pane settings (fig. 3.35).
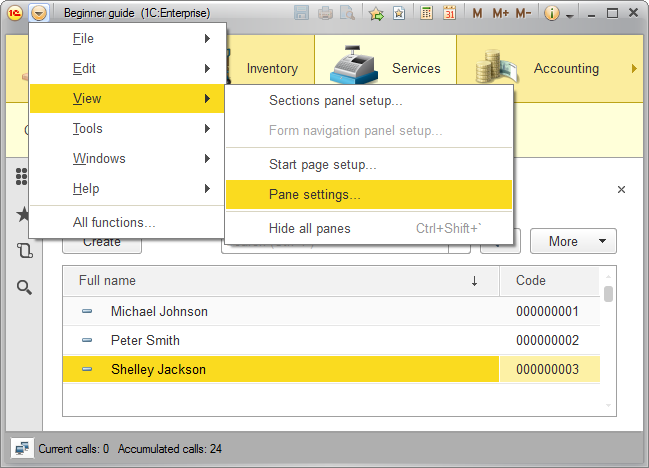
Fig. 3.35. Opening applied solution panel layout settings - In the Customize panes window, drag the history panel to the gray area at the bottom of the window.
The gray area contains hidden panels (fig. 3.36).
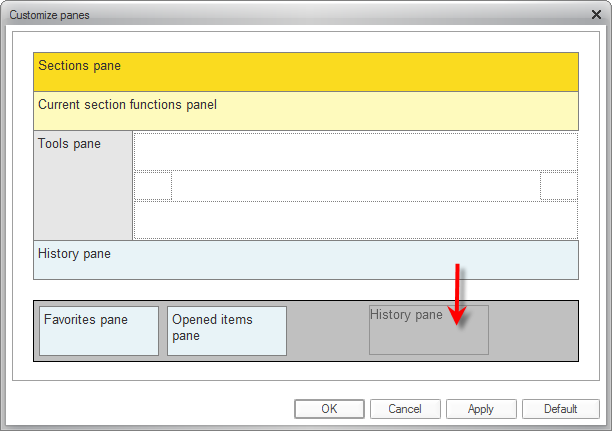
Fig. 3.36. Specifying applied solution panel layout settings - Click OK.
This hides the panel in the default applied solution layout but you can always open it by clicking the History button on the tools pane.
In addition to changing panel visibility, you can change panel positions in the applied solution window by dragging them.
Now you learned how to change the panel layout in Designer and 1C:Enterprise modes on the example of the history panel. Note that specifying panel settings in Designer changes these settings for all of the applied solution users, while specifying panel settings in 1C:Enterprise only changes them for the user that made that change.
Next page: Catalogs with tabular sections