This section explains the form customization procedure using the form of the Sale document as an example.
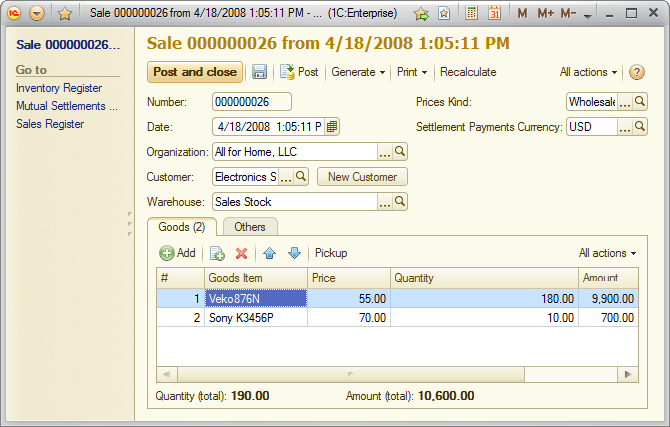
Fig. 203. Sale document form
Suppose that you need to display the part number (SKU) and the supplier of goods in the Goods table. On the All actions menu, click Change form.
In the form customization window, expand the TabularSectionsGroup, expand the Goods group, click the Goods Item field and then click Add fields.
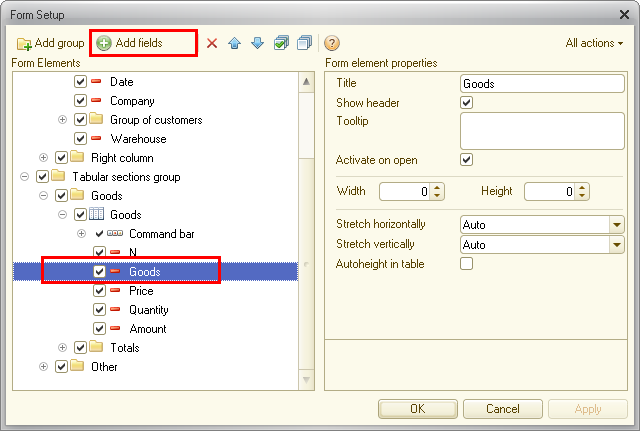
Fig. 204. Adding fields
In the window that is opened, select the fields SKU and Supplier as shown below.

Fig. 205. Selecting fields
In the form customization window, click OK or Apply. The Sale document changes its view as follows:
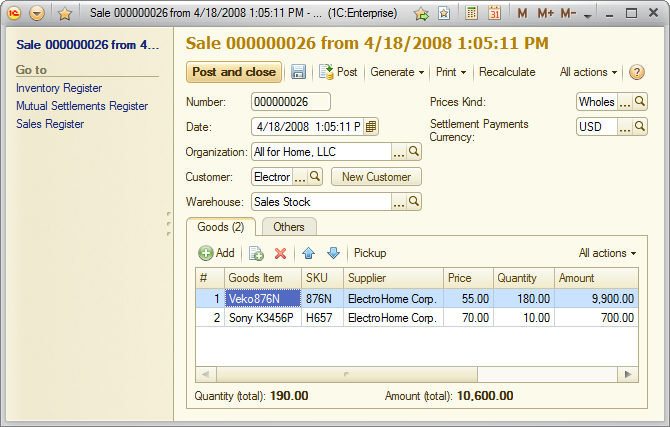
Fig. 206. Sale document form
Suppose that you need to display the country of the supplier. In the form customization window, select the Supplier field and click Add fields. In the window that is opened, select the Country field and click OK.
The table structure changes as follows:
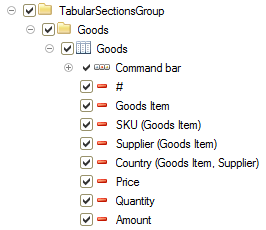
Fig. 207. Table structure in the Sale document
Now let us group the columns of the table. In the Goods table, add two groups by clicking Add group. The first group will contain goods details, drag the Goods Item and SKU fields to this group. The second group will contain the supplier details, drag the Supplier and Country fields to this group. Arrange the fields in the order shown in the figure using the Move up and Move down buttons.
The table structure changes as follows:
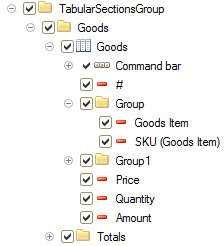
Fig. 208. Table structure in the Sale document
And the modified form looks as follows:

Fig. 209. Sale document form
When you change a number in the Quantity column, the row amount and total amount are recalculated. Therefore, the Recalculate button is redundant. Hide the Recalculate button by clearing the checkbox next to it, as shown in fig. 210, then click OK.
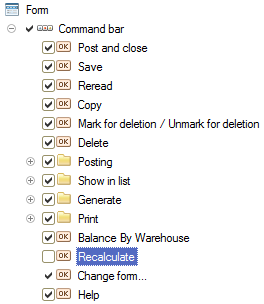
Fig. 210. Hiding the Recalculate button
The document form command bar now looks as follows:

Fig. 211. Sale document commands
Usually, the Sale documents only list indivisible items. This means that we do not need the precision of two decimal digits in the Quantity (total) column.
In the form customization window, click Quantity (total) field. In the right pane, in the Format field, click the selection button as shown in the figure.
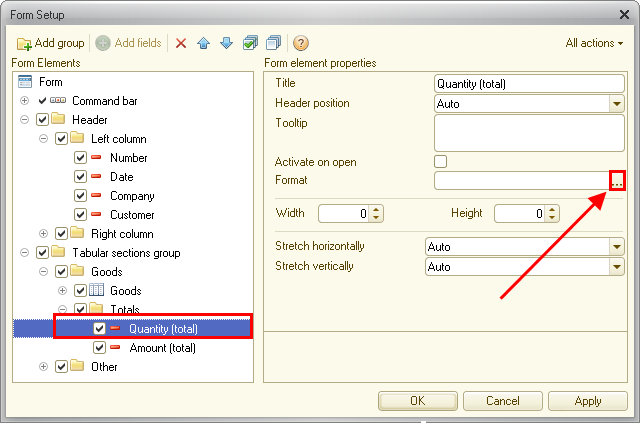
Fig. 212. Opening format string wizard
In the format string wizard window, select the Precision check box and click OK, then apply the changes.
The resulting Sale document looks as follows:
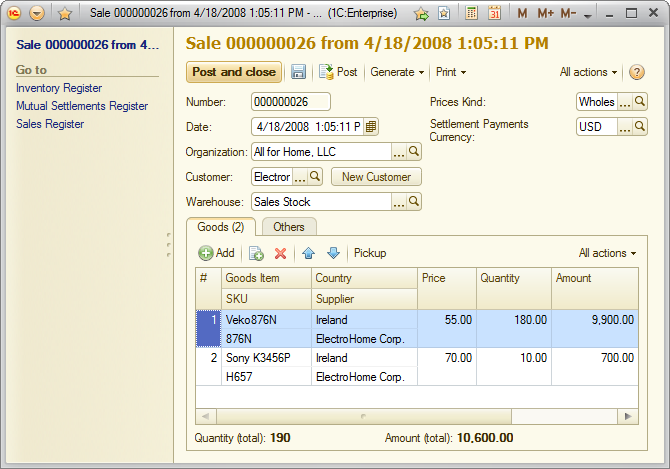
Fig. 213. Resulting Sale document form
In this manner, you can group related items, customize their order, hide the items that you do not need, and change the appearance of form items.
Next page: Customizing system options