You can customize the order of columns in a list, their visibility, and the behavior of the list when its data is viewed or edited in the Customize form dialog box. To open the dialog box, on the All actions menu, click Change form. For details on form customization, see Customizing forms.
You can customize the displayed data, list order, list groupings, and list appearance in the List Options dialog box. To open the dialog box, on the All actions menu, click Configure list.
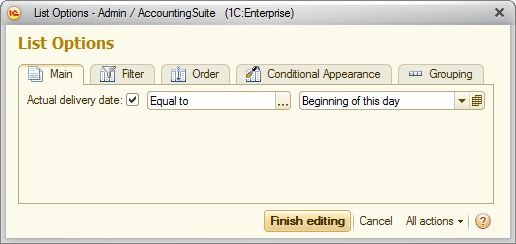
Fig. 95. A list of options form
This dialog box is intended to customize:
- List filtering
- Fields to order by
- Fields to group by
- Conditional appearance
- Other developer-defined settings
The settings dialog box contains the following tabs: Main, Filter, Order, Conditional Appearance, and Grouping. In this dialog box, specify the settings on the respective tabs.
A settings item is only applied if you select the checkbox next to it. You can customize the order of restrictions applied within a single settings item.
Customizing list settings is similar to customizing report option settings in the data composition system.
To revert to the default list settings, on the All actions menu, click Set default settings.
To customize the list of settings available for editing in the main list form, on the All actions menu, click Customize displayed settings. This opens another dialog box where you can add or remove settings.
To apply the settings, click Finish editing.
Saved settings are carried over between sessions.
To save the settings for future use, on the All actions menu, click Save settings. Then specify a name for the assortment of settings and click Save.
To load a previously saved assortment of settings, on the All actions menu, click Select settings. Then select the assortment of settings for the list and click Select.
Next page: Filtering lists