The second issue you have to solve is quick access to the activity recording on the desktop. In other words, you need to place two buttons on the desktop to be used for creating the Income and Expense documents.
In Designer, open the Desktop common form wizard. Click Form in the form item list and then click Add ![]() (Ins). Then click Group - Regular group (no visual presentation) and then click OK.
(Ins). Then click Group - Regular group (no visual presentation) and then click OK.

Figure 10-1. Group - Regular group (no visual presentation)
The Group type item is required for arranging buttons horizontally. Move the group to the top of the form and open Properties. Name the group ButtonGroup.
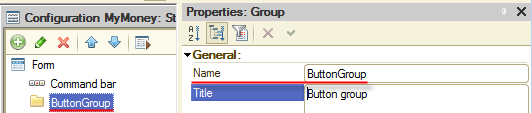
Figure 10-2. Group name
Set Display to Strong marking.
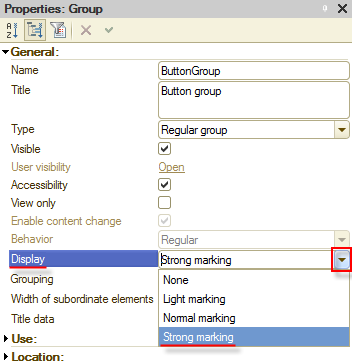
Figure 10-3. Group display
Set Grouping to Horizontal.
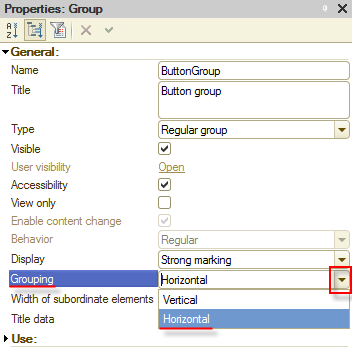
Figure 10-4. Grouping
Set Width of subordinate elements to Equal.
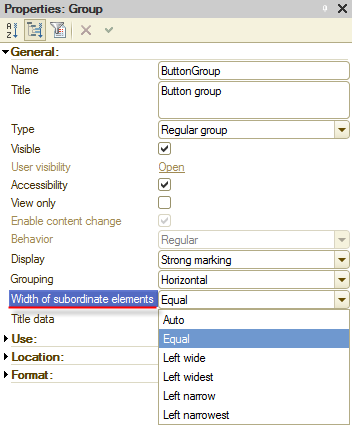
Figure 10-5. Width of subordinate elements
Add two buttons. Place them inside the group. Start with the Income button.
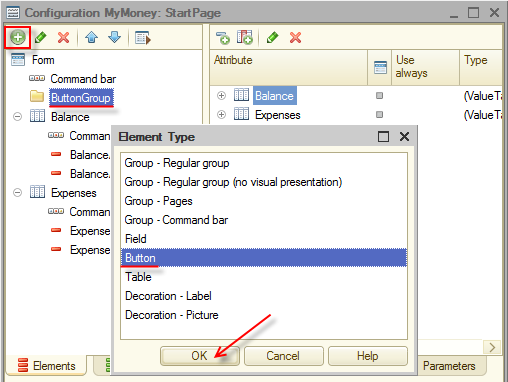
Figure 10-6. New button inside the group
Name it IncomeButton.
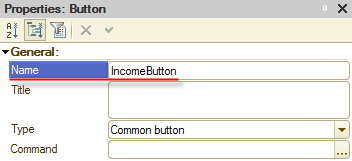
Figure 10-7. IncomeButton
Add the Expense button.
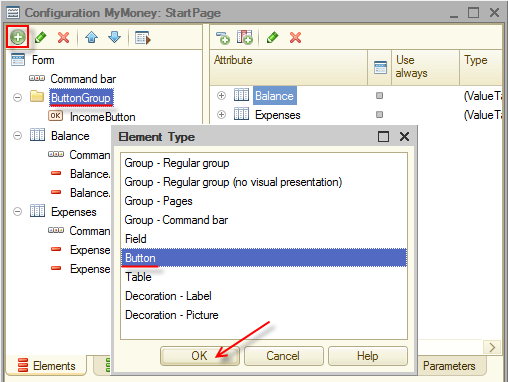
Figure 10-8. New button inside the group
Name it ExpenseButton.
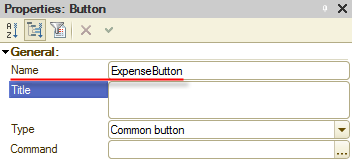
Figure 10-9. ExpenseButton
Now you need to specify the actions that will be performed when users click the buttons: the creation of the Income and Expense documents.
Click the Select ![]() button of the Command field.
button of the Command field.
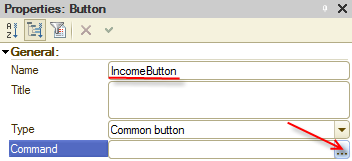
Figure 10-10. Clicking the Select button
On the Global commands tab, click Income: create, and then click OK.
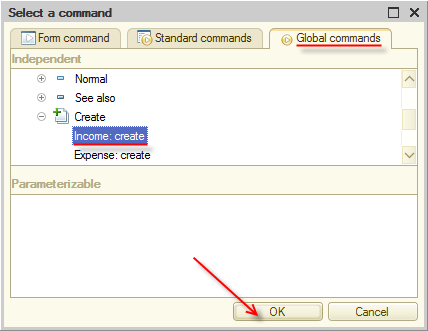
Figure 10-11. Selecting the command
For ExpenseButton, set the Expense: create global command.
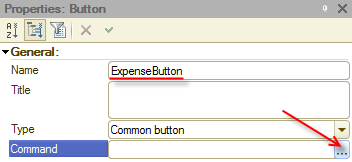
Figure 10-12. Command button property
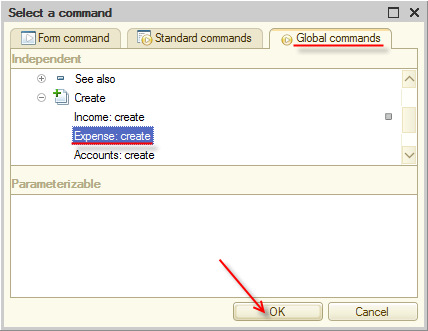
Figure 10-13. Selecting the command
Once you select the commands, the buttons on the form become visible. Now, make them bigger and add pictures to them.
Also, increase the font size to 14.
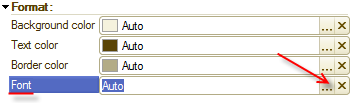
Figure 10-14. Button font
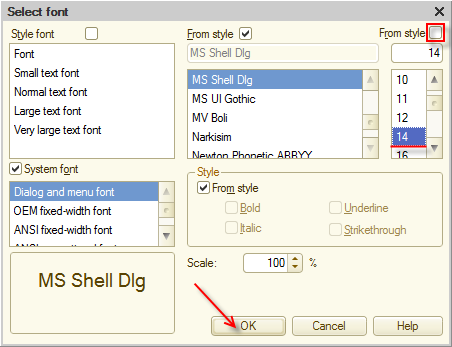
Figure 10-15. Button font size
The result is immediately displayed in the preview pane.
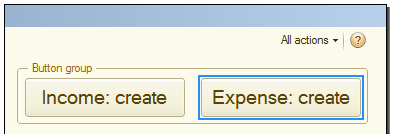
Figure 10-16. Form preview
To set a button picture, in the button properties, click the Select ![]() button of the Picture field. Start with the IncomeButton.
button of the Picture field. Start with the IncomeButton.

Figure 10-17. Picture property
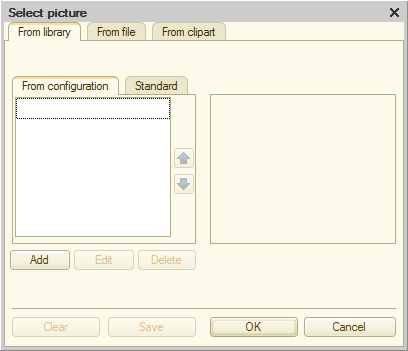
Figure 10-18. Selecting a picture
There are no pictures in the configuration, therefore you have to load them from files. The tutorial includes the Income.png file. To load a picture, click Add.
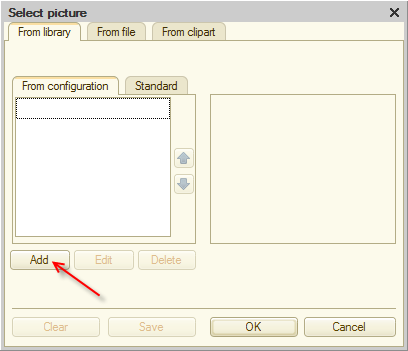
Figure 10-19. Adding a picture
Click Select from file.
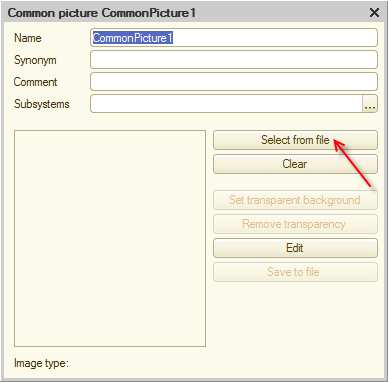
Figure 10-20. Adding a new picture
Click the picture file and then click Open.
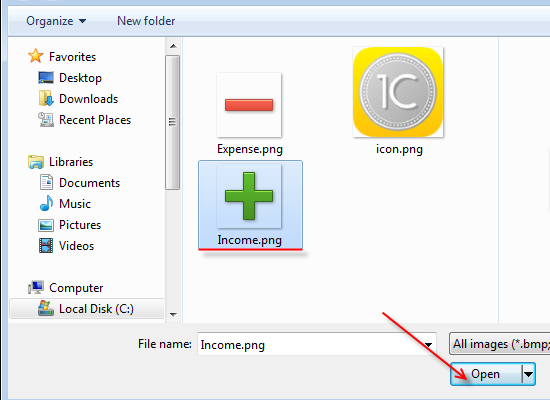
Figure 10-21. Selecting a picture file
Name it Income.
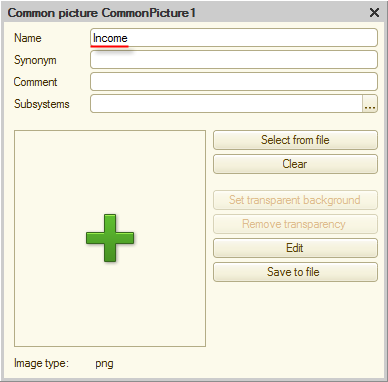
Figure 10-22. Common picture name
Now, you can close the common picture window and select the loaded picture in the Select picture window. Click the picture and then click OK.
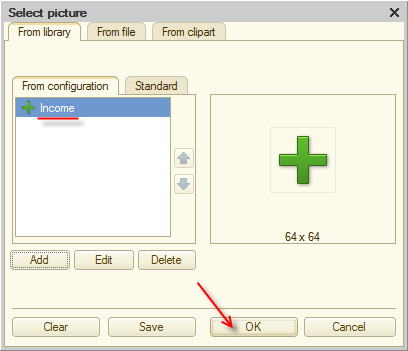
Figure 10-23. Selecting a common picture
The button now has a picture. To make it visible, set Display to Picture and text.
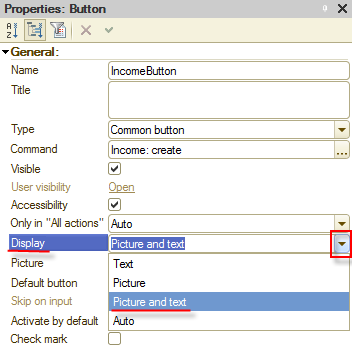
Figure 10-24. Setting the Display mode
Similarly, specify the picture for the second button. You can find Expense.png in the tutorial directory. As a result, the preview looks as follows:
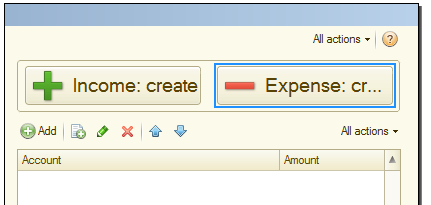
Figure 10-25. Buttons with pictures
As you can see in the preview pane, the Expense: create text is too long for the button. This automatically generated name is also redundant. Change it to Expense and change Income: create to Income. For this, open the property palette and type the new titles in the Title field.

Figure 10-26. Button title
You can see that the platform attempted to calculate the width of the buttons based on titles, but pictures have not been taken into account.
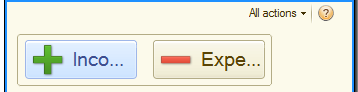
Figure 10-27. Button width
Set the button width manually in Properties, increase Width to 16.
By the way, to set equal attribute values for objects, hold down Shift while clicking the objects, whose attributes you want to set. Then press Alt+Enter and customize the properties that are common for the selected objects.
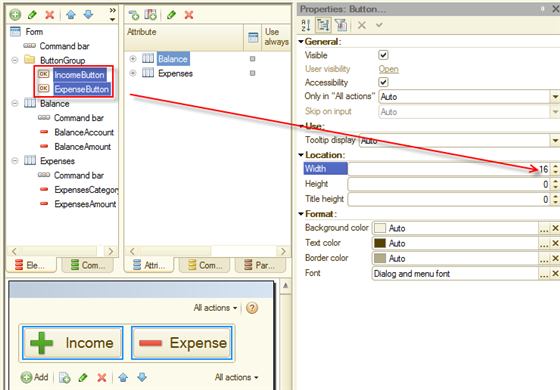
Figure 10-28. Button width
In the preview pane you can see that now the texts fit the buttons. You can start the application in 1C:Enterprise mode and see that the buttons are represented correctly and perform the required actions: once you click one of them, new document of the corresponding type is created.
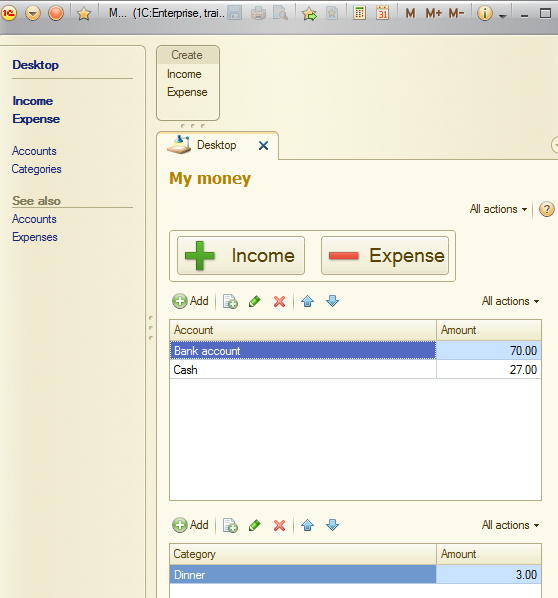
Figure 10-29. Buttons on the desktop
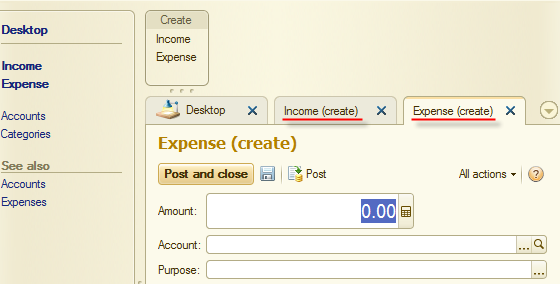
Figure 10-30. Creating new documents
Record another expense. Let it be a fare of 3, paid in cash.
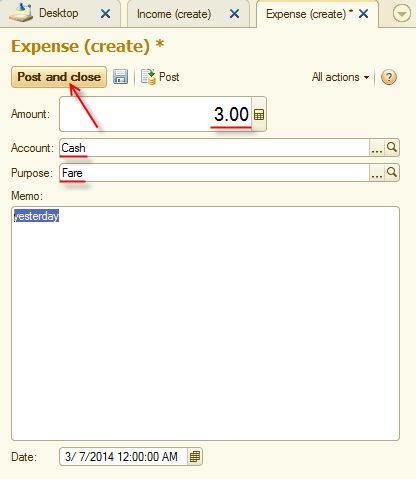
Figure 10-31. Paying the fare
Next page: Updating desktop tables