Attention! This instruction is for Android devices only.
There are two ways to install a 1C application on your mobile device.The first one is to use the special Mobile application builder is a small application that creates mobile application distribution kits ready for uploading to application stores. For Android, it will be a finished apk file, which can already be installed on your device. The mobile application builder is a part of the mobile platform.
This path is more complicated - as in this case, you need to first configure the Mobile application builder program, but it allows get a ready-made mobile application.
The second way easier to configure and use - therefore, this method is recommended to be used in the process of writing and testing your program on the 1C mobile platform. The following describes the procedure for the second method.
First, a configured web server: IIS or Apache. (You can read how to configure a web server for working with 1C here).
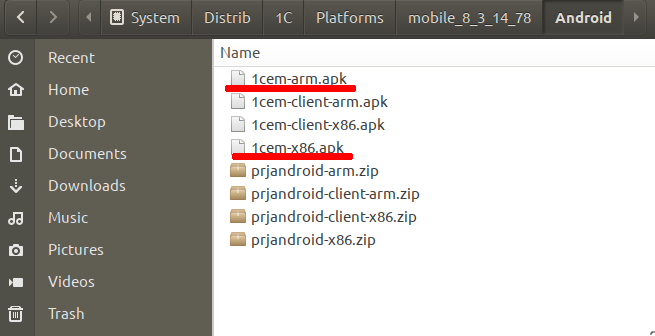
Secondly, we need a special application - 1C Mobile Platform for the developer. To do this, we need to download and unzip the mobile platform. We will see several files in the Android catalog, among them there is the 1C Mobile Platform for the developer we need.
For example, in my case, this is the file “1cem-arm.apk” (If you have a mobile device with an Intel processor - then you need the “1cem-x86.apk ”).
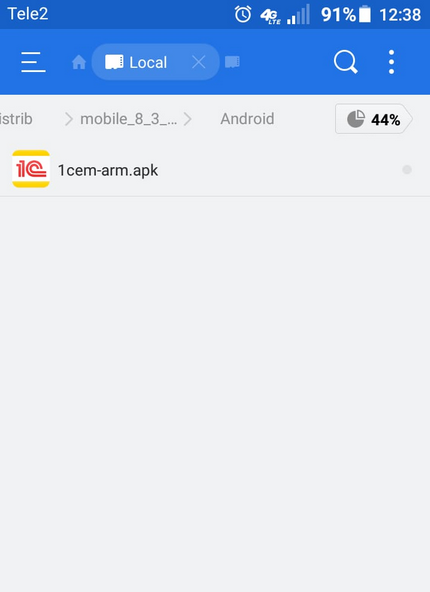
This file must be downloaded to your mobile device and then installed as a regular application.
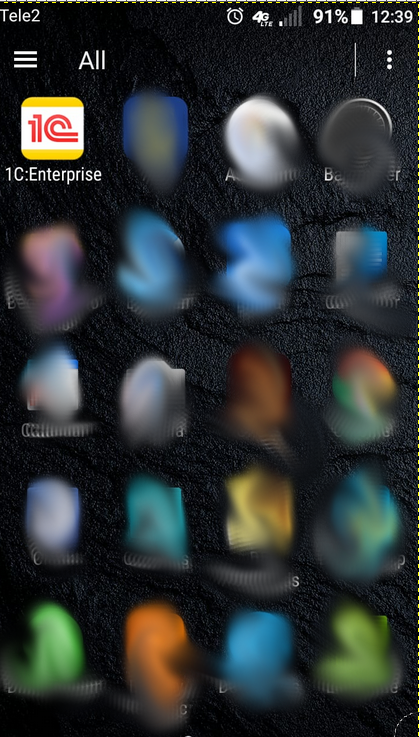
After starting this application, you can see this screen:
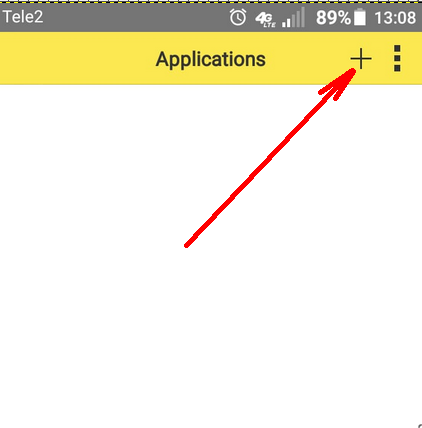
On this screen, a list of those mobile applications that we previously publish and add will be displayed. Now the list is empty - let's just add some kind of mobile application. Click on “+” and the add application screen opens:
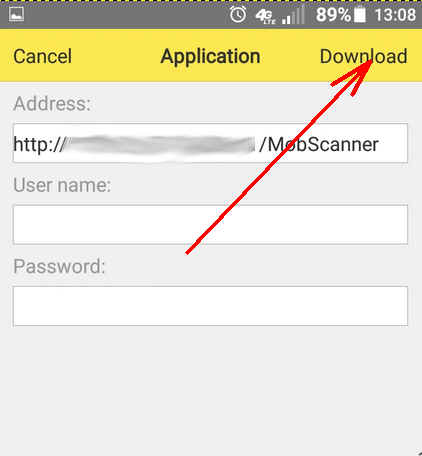
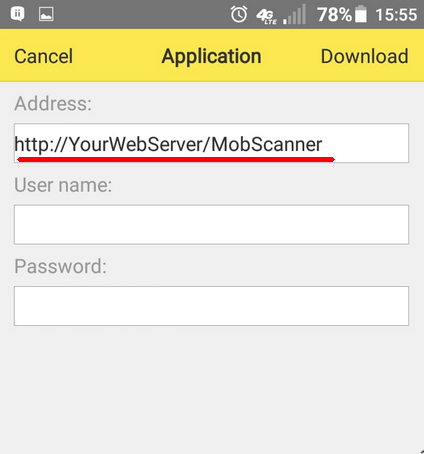
Enter the path to the published mobile application in the Address field and click the Download button. After that, another screen will open:
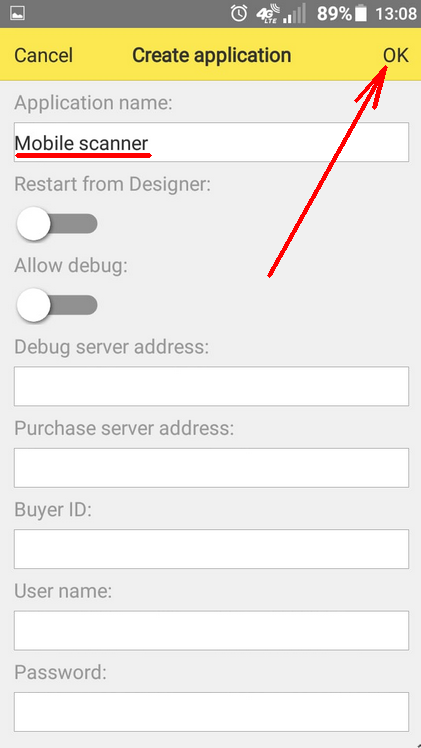
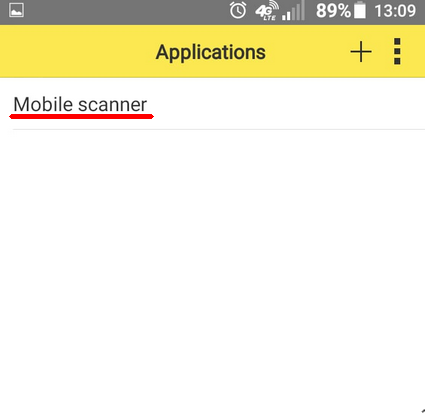
Enter in the field Application name any name that is convenient for you and click the OK button. After that, the mobile application is downloaded directly to the mobile device and it appears in the list of applications available for launch:
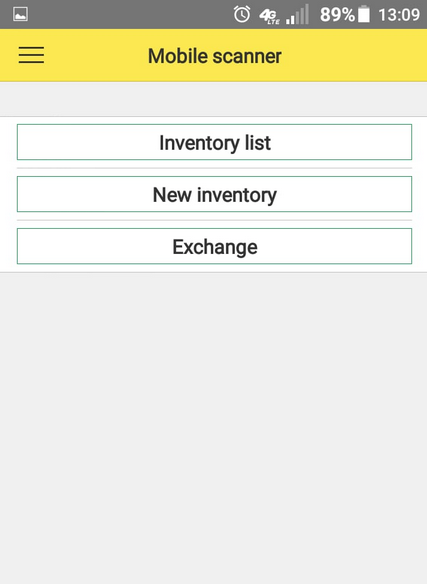
If you tap on it now, then our application will start and it will be possible to work with it:
We examined how you can install the 1C mobile application on a mobile device. But in order to do this, you must first publish this 1C mobile application on a web server.
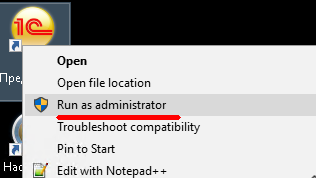
Run 1C with Administrator rights:
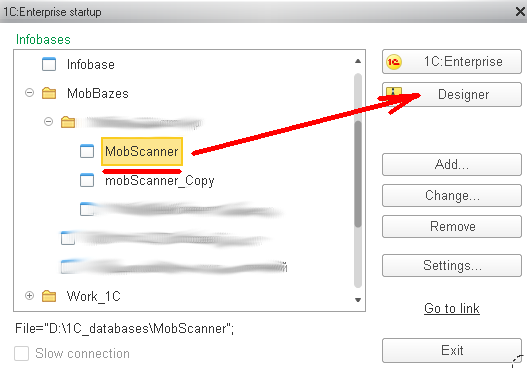
Then run 1C application in Design mode:
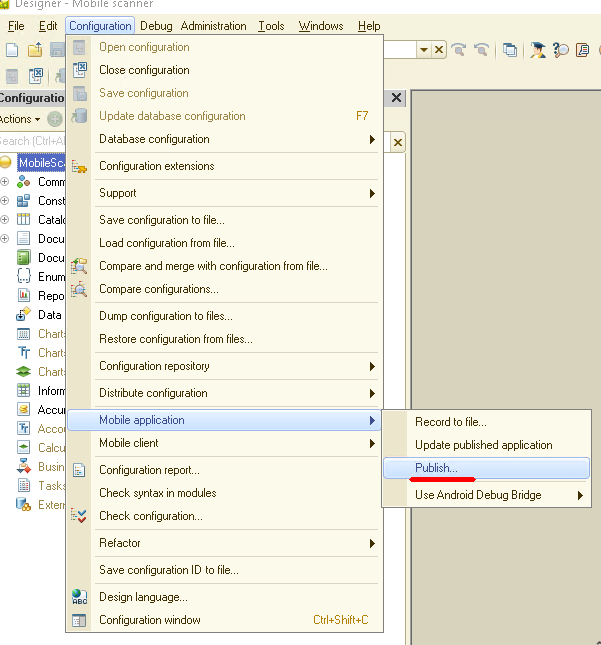
Next, go to Configuration → Mobile application → Publish:
A dialog box will open:
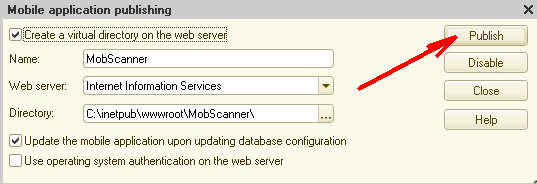
The Name field is the name of our publication, by this name we will connect to the published mobile application.
Remind you that the connection string looks like this: "http://YourWebServer/MobScanner". Here "YourWebServer" is the name or IP address of your web server, MobScanner is the name of the application, as it was published on the web server.
Enter the same string when setting up our mobile application - as described above:
In the Name field, enter the name of our application, the Directory field is the path to the directory on the web server where the published application will be located.
Then press the Publish button and the application is published. Restart the web server and after that, you can go to your mobile device and download the mobile application you just published.

