1C:Enterprise platform is not a universal programming IDE. You cannot create any type of program using 1C:Enterprise. It is designed for automation of business activities. For this reason, many concepts are already embedded into the heart of 1C:Enterprise, its technological platform.
Anywhere where there is 1C:Enterprise, there will be a technological platform. This provides uniformity so that the development and modification technology, as well as the structure of 1C:Enterprise applications, are always the same.
The major technological concept used in 1C:Enterprise is an infobase. Roughly, each infobase is a single 1C:Enterprise application. The unique feature is that each infobase contains not only the data the user works with, but also the actual application (applied solution) itself that is executed by the platform. For example: 1C:AccountingSuite or 1C:Small Business both are applied solutions.
Thus, when you need 1C:AccountingSuite application, create an infobase with 1C:AccountingSuite applied solution and keep your finance accounting data in this infobase. You can create multiple infobases using the 1C:AccountingSuite solution, each storing different data. If you will need 1C:Small Business, you will have to create an infobase with another applied solution, 1C:Small Business, where you will keep goods production accounting data rather than finance accounting.
Thus, if you have an infobase, you have everything you need for work: data and an application that knows how to manage it.
The creation of any 1C:Enterprise applied solution begins with the creation of an infobase that will store the applied solution and its data.
Let's get started. Start 1C:Enterprise: click Start, and then point to All Programs. Click 1C Enterprise 8 (training version), and then click 1C Enterprise.
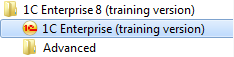
Figure 1-2. Starting the program
The first thing 1C:Enterprise will do is open a list of available infobases. If you installed 1C:Enterprise (training version) that includes this master class, you can find My money (demo) infobase there, otherwise 1C:Enterprise will suggest you to add a new infobase to the list. In our example, you will create the same infobase step-by-step. Click Yes to add a new infobase to the list.
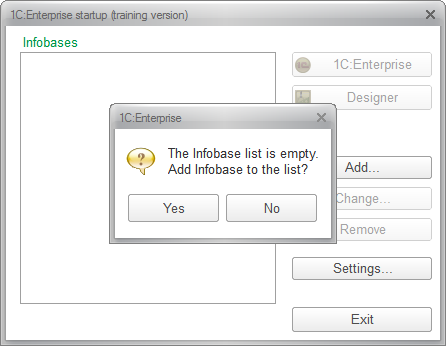
Figure 1-3a. Adding a new infobase
Note: If you already have infobases in the list, there will be no suggestion to add a first infobase. In this case use the Add button to add an infobase.
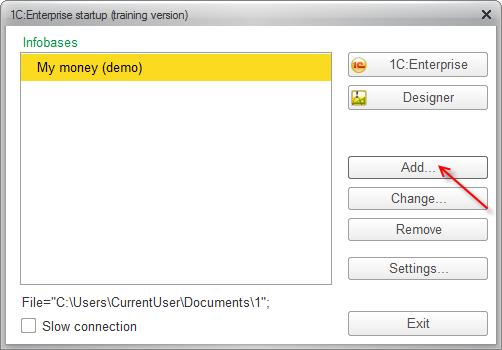
Figure 1-3b. Adding a new infobase to the list
Now the wizard will ask what you would like to add to the list of infobases: a completely new infobase, which does not exist yet, or an existing somewhere infobase (for example, the one that already present on a local network server).
The default option is to create a new infobase, and this is what currently required. Then click Next.
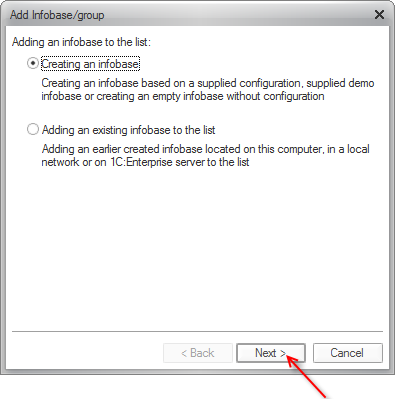
Figure 1-4. Creating a new infobase
There are two ways to create a new infobase: add an empty infobase that will contain neither data nor applied solution, or use a template that can contain an applied solution and maybe even demo data. To create an infobase with preset application, you can use the first option on the next page of the infobase creation wizard.
If you have not installed any template yet, the wizard will set an option to create a new empty infobase as default and you can continue by clicking Next.
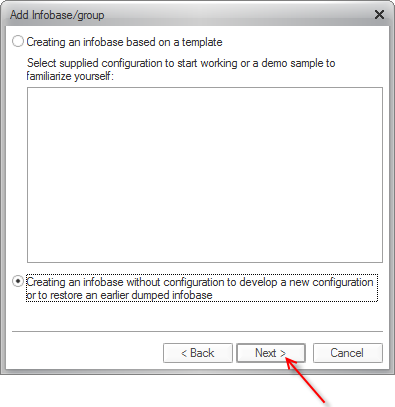
Figure 1-5. Creating an infobase without an applied solution
The wizard will now ask for a name that you would like to give to the new infobase. The infobase name does not affect anything so any name can be used, we named it My money. This name will be displayed in the infobase list at startup. Click Next.
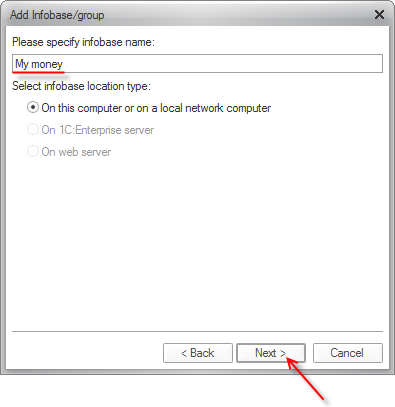
Figure 1-6. Specifying the infobase name
Finally, the wizard will ask you for a folder where the infobase will be stored. If you have insufficient space on your system drive, you can specify a different location. However, in most cases you can accept the default setting and click Next.
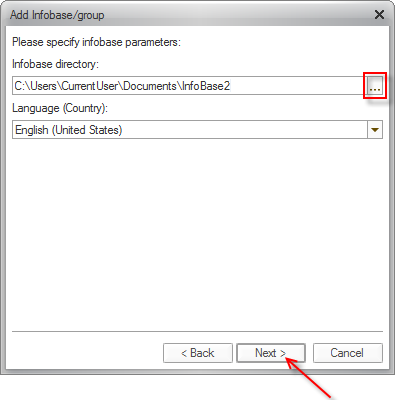
Figure 1-7. Specifying the infobase location
In the next screen, you should not change anything. It is important to ensure that 1C:Enterprise version is 8.3, then click Ready.

Figure 1-8. Finishing the infobase creation
As a result, you will see our new infobase My money in the list of infobases. Click the Designer button to start developing the mobile 1C application.
Designer is the developer mode of running 1C:Enterprise platform, which is used to create or modify an application.
1C:Enterprise is a user mode for working with the data stored in the infobase.
In the current master class you are a developer, therefore click Designer.
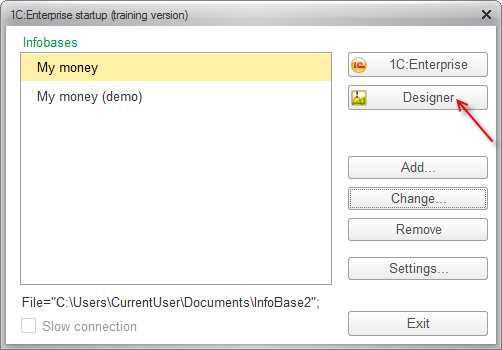
Figure 1-9. Starting Designer mode