A form can contain a table that stores a list with multiple columns. The assortment of columns is defined by the form design. The rows contain the data that you can view and sometimes edit. For example, a list of payments in a Sale document is a table.
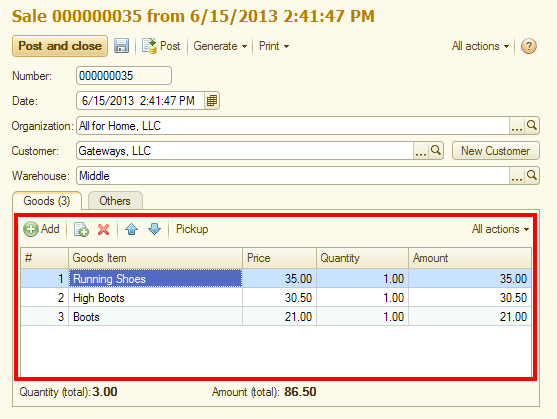
Fig. 57. A list of payments in a Sale document
In some forms, each row displays two or more levels of values. This increases the amount of data displayed in a single row without the need to scroll it horizontally.
If a table cell height is one row and the cell contains multiple text lines, only the first line is visible, followed by an ellipsis.
Adding, copying, deleting, editing, sorting, filtering, and other operations on the list data are generally performed using the list command bar buttons or using the context menu of the list area (provided that this option is implemented in the application).
The operations available in a table are defined by the type of data stored in the table and by the application design. Generally, they are similar to the operations available in text boxes. To start editing a cell, press Enter or put the cursor to a cell and begin editing. To complete editing a table row, press Shift + F2.
Viewing a table. You can use your mouse and keyboard to view a table.
You can change the column width by dragging the column borders. The new column sizes are saved. Holding down Ctrl while resizing a column prevents the adjacent columns from being affected.
If some table text is not visible because it does not fit the column width, move the pointer over that cell to display a tooltip with the full text.
You can change the order of columns. For more information, see Customizing forms.
Some tables allow multiple row selection. To select multiple rows, hold down Ctrl and select the rows with mouse or arrow keys.
To scroll a table one page up or down, press Page Up or Page Down.
To navigate to the first table row, press Ctrl + Home. To navigate to the last row, press Ctrl + End.
Editing a table cell. To edit a table cell, select it and begin editing. If a list of available values is assigned to the cell, press Ctrl + Down Arrow to open the list and select a value.To complete the editing, press Enter. If a text box is used for editing cell data, all of the text box editing options are available. For more information, see Selecting object value.
Adding a row. To add a table row, press Insert. Then you are prompted to edit a new cell. Once you type a value and press Enter, the cursor is moved to the next cell.
You can navigate between the cells by pressing Enter or Tab, provided that the application supports this option.
Alternatively, you can add a row by pressing the Down Arrow key in the last table row, provided that the application supports this option. If you do not specify any value for that new row, it is deleted when you leave it.
Note. If the cursor "jumps" over some cells when you press Enter, this is intentional and defined by the application design.
Deleting a row. You can delete a table row.
Warning! The rows are deleted permanently, without any warnings.
To delete a table row, select it using the mouse or arrow keys and press Delete.
Copying a row. To copy a row, select it using the mouse or arrow keys and press F9.
Row numbering. The leftmost column displays the numbers of table rows. When you add a row, it is automatically assigned the next sequence number.
You can change the order of table rows. To move the rows, use the Move up and Move down commands. When you move the rows, their numbers are changed automatically.
Sorting table rows. The default order of table rows is defined by the application design. To sort a table by a specific column, select a column and then, on the More menu, click Sort descending or Sort ascending. You can also drag table rows to change their order.
If you need to specify a more complex sorting of table rows, use the form customization procedure described in Customizing forms.
Next page: Groups