Let us create the index.
- Start 1C:Enterprise in the debug mode.
- On the main menu, click All functions, expand Standard, and click Manage Full Text Search (fig. 19.3).
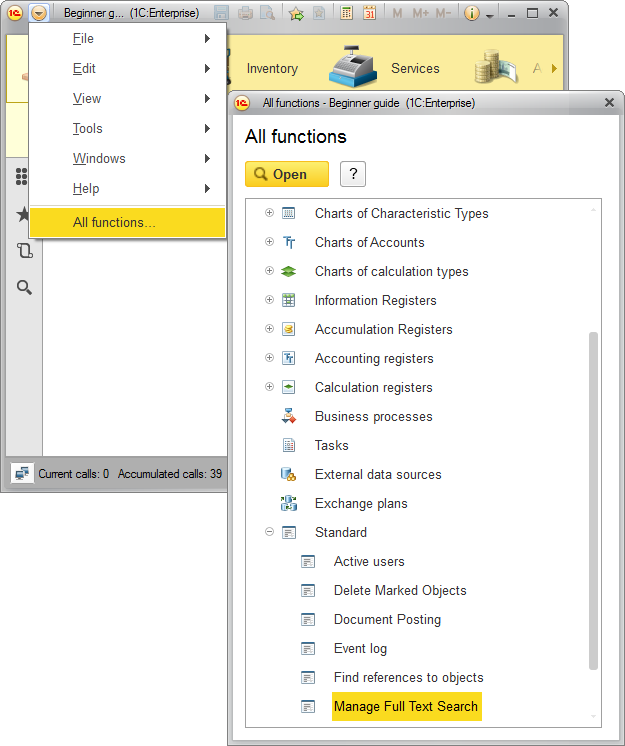
Fig. 19.3. Opening the full-text search management window
This opens the full-text search management window (fig. 19.4).
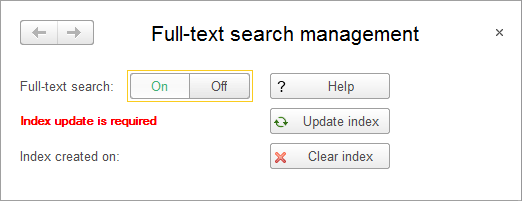
Fig. 19.4. Full-text search management window
In this window you can interactively create and update the full-text index. Besides, here you can allow or prohibit all operations related to the full-text search: updating and clearing the full-text index, and performing the full-text search.
You can see that the full-text search is allowed by default.
As you can see in fig. 19.4, the platform informs you that the index update is required. This is true because the index is not yet available (the index generation date is empty). - Click Update index.
You can use this button both to create an index and to update it.
Note that in a large infobase creating or updating a full-text index can take a few minutes. This is why 1C:Enterprise status bar shows which data portion is being processed during the index update.
When the full text-index is created, an appropriate message is displayed (fig. 19.5), and the new index generation date is displayed in the full-text search management window (fig. 19.6).
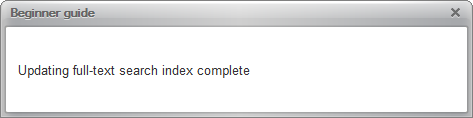
Fig. 19.5. Updating full-text search index complete
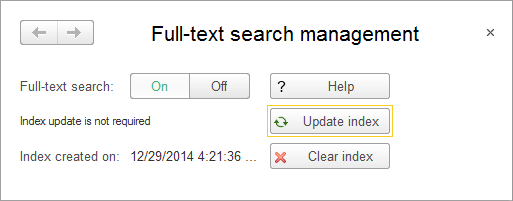
Fig. 19.6. Full-text search management window
So you have created a full-text index for your Infobase. Let us proceed to testing the full-text search.