Reports are used to obtain data from a 1C:Enterprise Infobase.
In 1C:Enterprise you can generate a report with predefined settings or customize the settings. Experienced users can create custom report options.
A typical appearance of a report form is shown below.
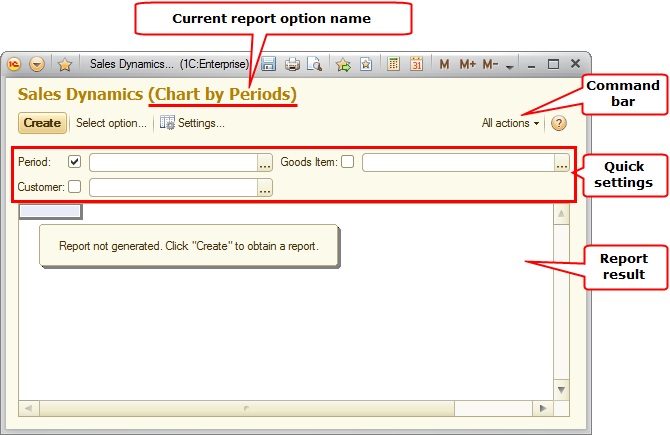
To generate a report with the predefined settings, in the report command bar, click Create.
If multiple options are provided for a report, you have to select the required option before creating the report by clicking the Select option button. For more information about report options, see Report options.
To customize a report, you can use either the quick settings field or a dedicated dialog box opened by clicking the Settings button. For more information about report settings, see Using quick settings and Using regular settings.
Once a report is generated and displayed as a spreadsheet document, you can use the drill down feature. For more information, see Drilling down.
Depending on the report settings, a report form may include the following commands on the All actions menu:
- Settings. Open the report settings.
- Select settings. Load previously saved report settings.
- Save settings. Save the report settings.
- Set standard settings. Load the default settings for the current report option.
- Change option. Open the report option settings.
- Select option. Select a report option.
- Save option. Save the report option.
- Open a new window. Opens a new report window with the current settings applied.
- Change form. Opens the report form settings.
For more information about report settings, see Using quick settings and Chapter 9. Report options.
For more information about drilling down, see Drilling down.
Note. Fig. 114 and other figures later in this document show forms where system commands are hidden.
Next page: Customizing reports