This article describes how to create Oracle Database version 10.2 for 1C:Enterprise 8.2.
It should be noted that the Oracle database is a more extensive entity than Microsoft SQL Server database. The most suitable analogy looks as follows:
- The Oracle database is equivalent to MS SQL Server instance.
- The "data scheme" concept in the Oracle database is equivalent to the concept of "database" in MS SQL Server.
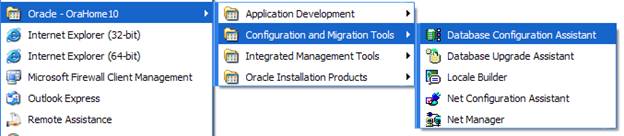
1C:Enterprise 8.2 does not create the Oracle database. The system administrator has to create the Oracle database independently using Oracle Database Configuration Assistant (dbca). To start this utility, select Start – Programs – Oracle-OraHome10 – Configuration and Migration Tools – Database Configuration Assistant.
The database creation consists of several steps.
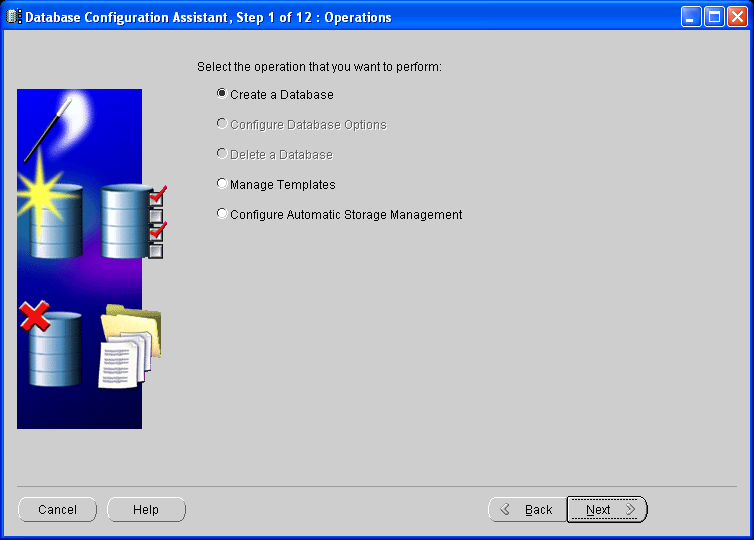
To create an Oracle database, during the first step click Create a Database, and then click Next.
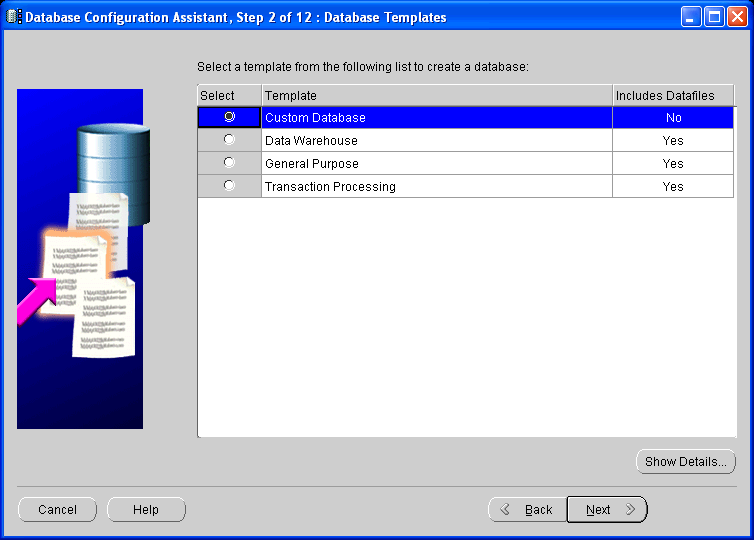
During step 2, select Custom Database in the list of templates for database creation. Click Next.
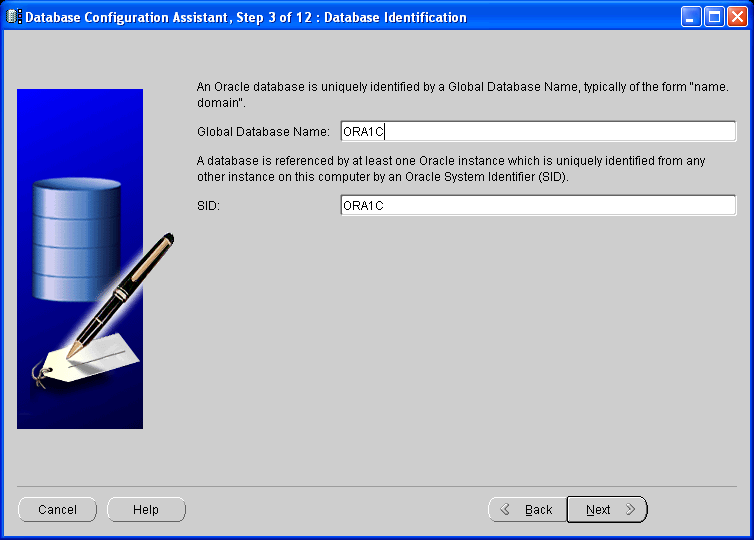
During step 3, specify a name for your Oracle database (e.g. ORA1C) in the Global Database Name field. Click Next.
Note:
The Oracle database name must not exceed 8 characters.
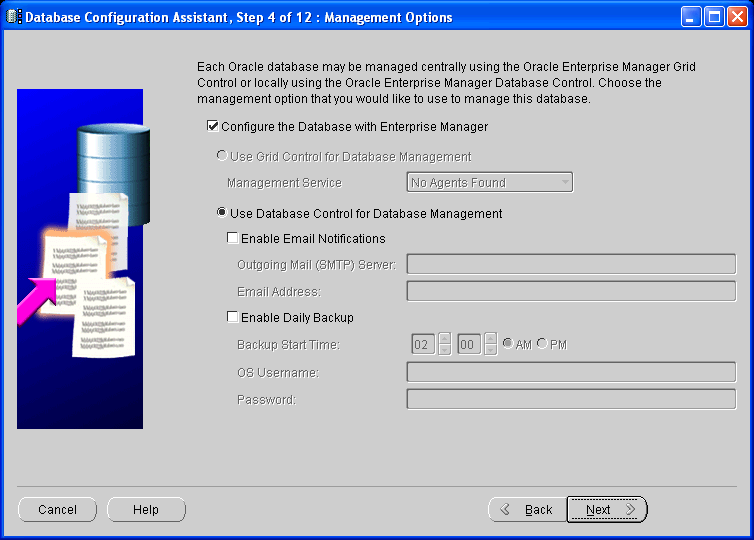
By default, the Oracle database is managed via a local Enterprise Manager.
The standard settings will be fine for this, so just click Next.
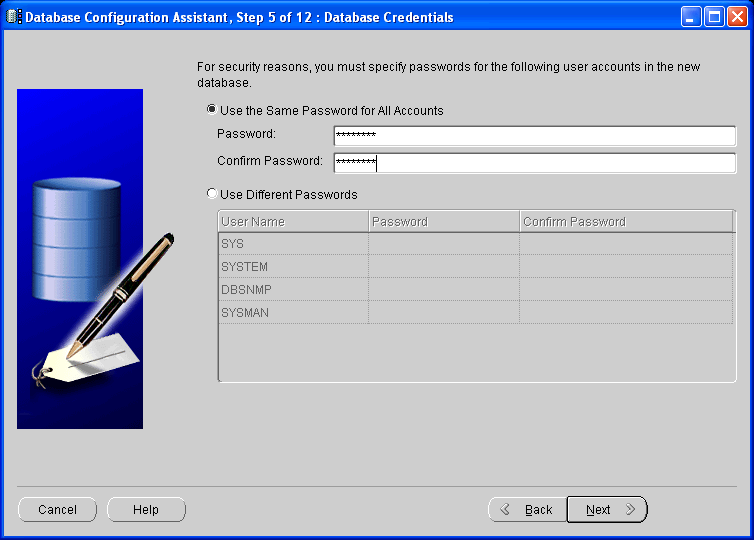
For safety reasons, in the Password box, set a password for Oracle database users.
Repeat the password in the Confirm Password box. Click Next.
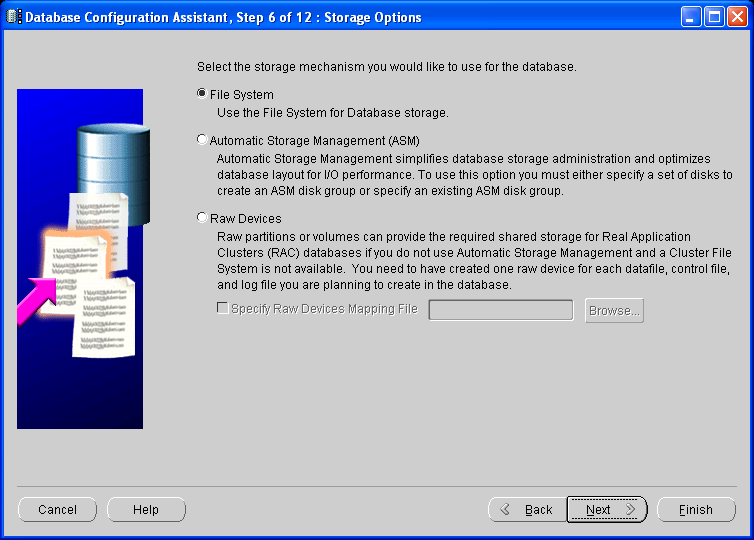
During step 6, select a file storage to be used by the DBMS. The file system is selected by default. Click Next.
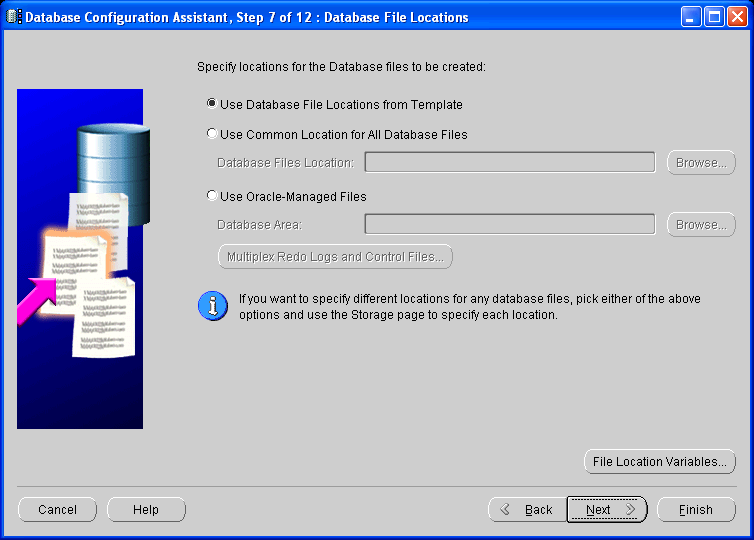
During step 7, you can select the location for database files on the disk. The database file location specified in the template is set by default.
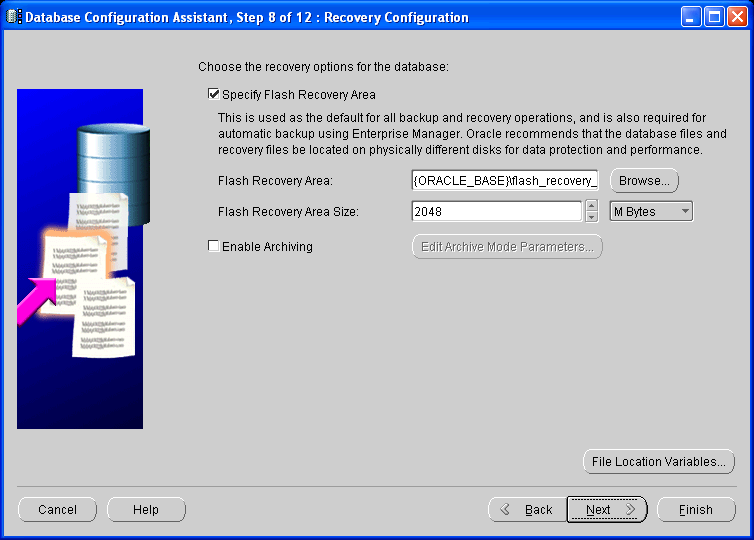
During step 8, set the options for database failure recovery. You can accept the default parameters and click Next.
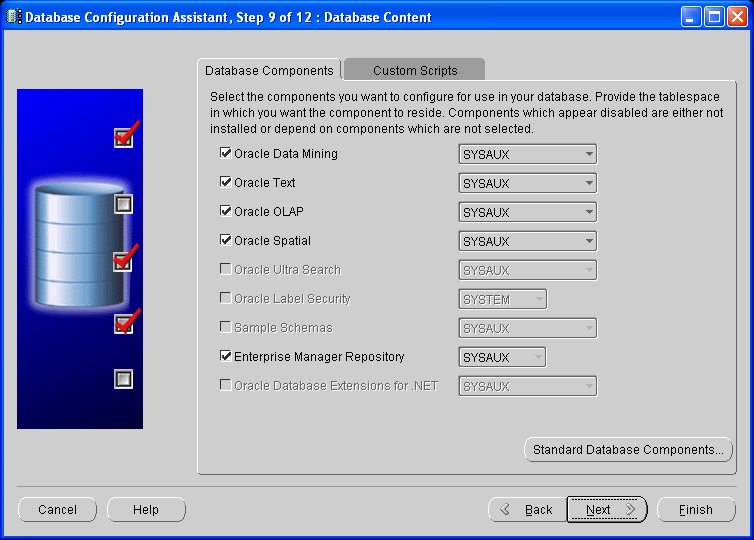
During step 9, select the components to be used in the database. Click Standard Database Components. The following dialog box will be displayed.
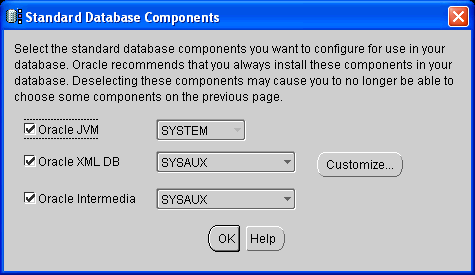
1C:Enterprise 8.2 does not use Oracle JVM, Oracle XML DB, or Oracle Intermedia. Therefore clear the Oracle JVM and Oracle XML DB checkboxes, and then the Oracle Intermedia check box will be cleared automatically.
The dialog box for component selection will change to look as follows:
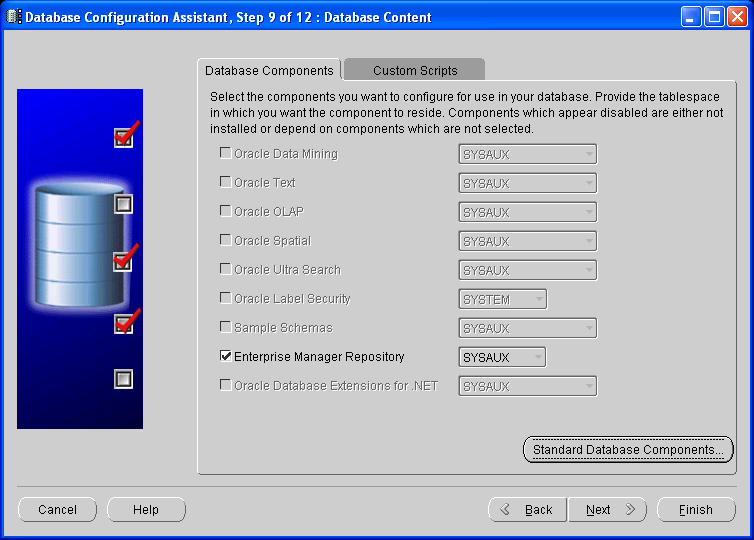
Set the data scheme for the Enterprise Manager Repository where its support structures will be created.
Click Next to proceed with the database creation.
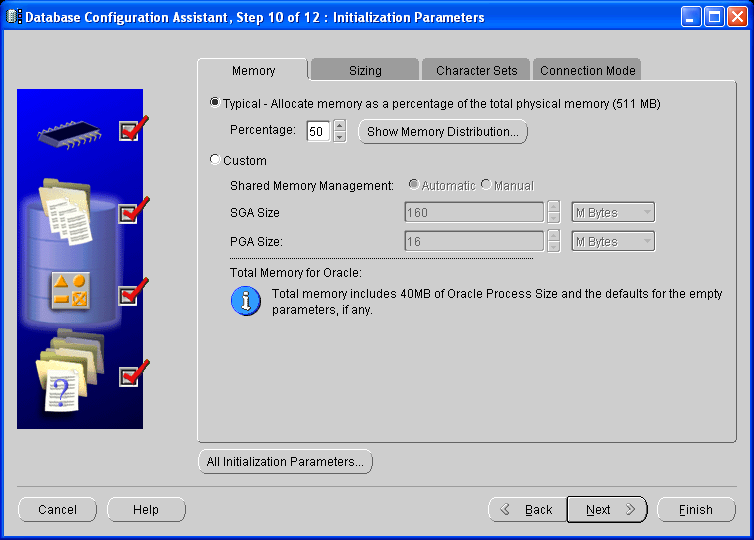
During step 10, set the database parameters. The memory capacity available for this Oracle database can be set either as a percentage of the server's overall physical memory or in detail (by clicking Custom and setting the SGA Size and PGA Size parameters).
You can keep the default parameter values on the Sizing and Connection mode tabs intact.
IMPORTANT!
You must set the Database Character Set parameter to Use Unicode (AL32UTF8) on the Character Sets tab.
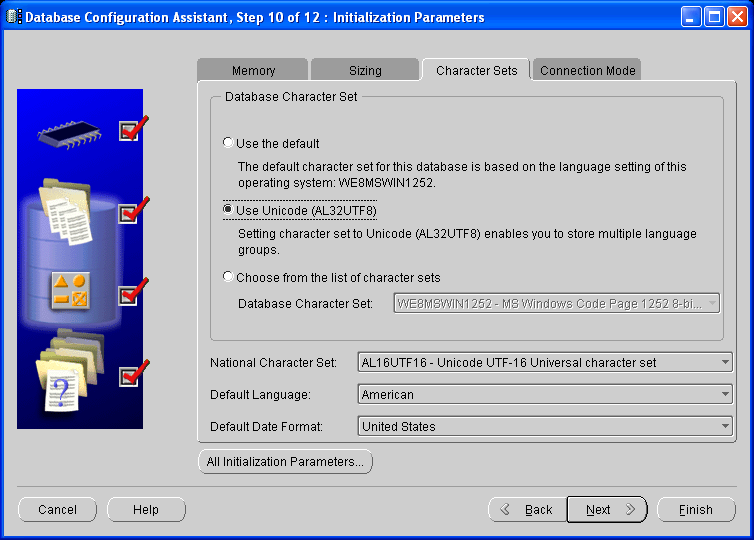
Click Next to proceed.
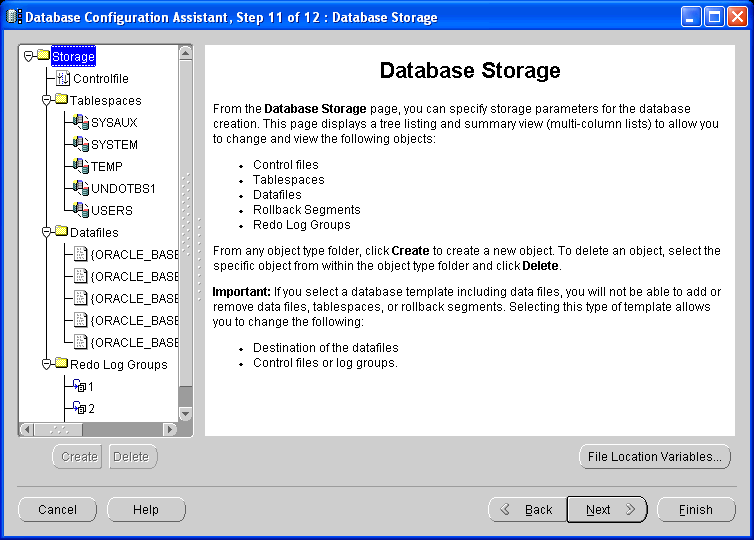
During step 11, you can change the location of Oracle database files, set the size of REDO logs, and create tablespaces. You do not have to create tablespaces for 1C:Enterprise as the platform will create them automatically when creating the first Infobase.
During step 12, you can select the Save as a Database Template checkbox to save the template as it can be used to create other Oracle databases.
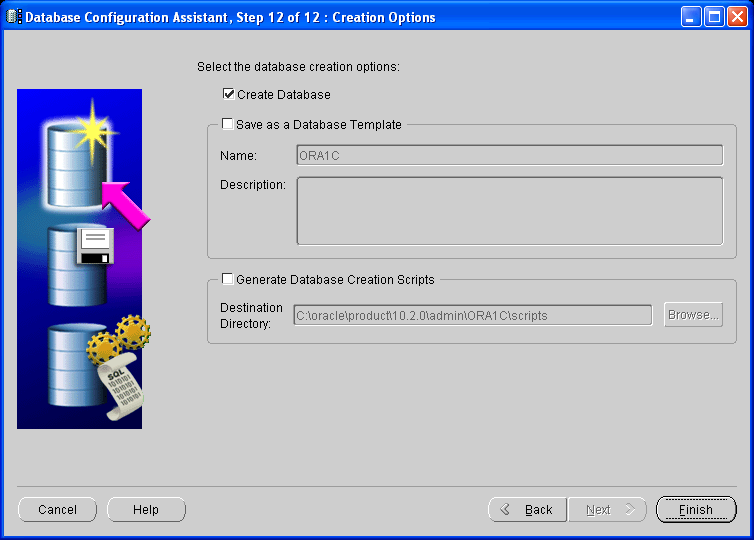
Click Finish.
It takes 10–20 minutes to create a database.
When the process is completed, the system will get a new service, OracleServiceORA1C, which represents the Oracle database you have created.
To connect to the Oracle database, you need the Oracle TNS Listener service. This will not pose any problem, as the service can be created using Oracle Net Configuration Assistant (netca) tools. To start the utility, on the Start menu, point to Programs, point to Oracle-OraHome10, point to Configuration and Migration Tools, and click Oracle Net Configuration Assistant.
Next page: Setting up multilingual collation in Oracle Database Server