Let us add the history panel using Designer.
- Close the applied solution and return to Designer.
- In the configuration object tree, right-click the BeginnerGuide root item and then click Open client application interface (fig. 3.32).
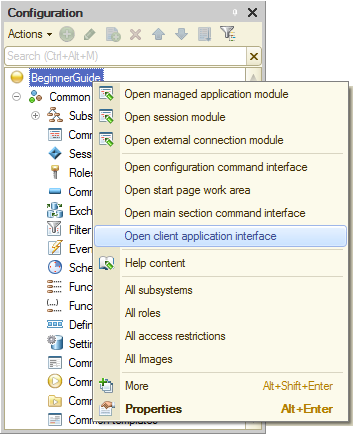
Fig. 3.32. Opening the applied solution panel layout settings
This opens the Client application interface window. The right part of the window contains the list of all standard panels available in the applied solution. - Drag the History pane item to the left part of the window, to the Bottom folder (fig. 3.33).

Fig. 3.33. Specifying applied solution panel layout settings
If you want to hide any of the standard panels, you can drag it to the right part of the window or click the Delete current item  button in the window command bar. Dragging items between the groups (Left, Right, and so on) changes the panel positions in the applied solution window.
Next page: In 1C:Enterprise mode