Let us specify two tables as query data sources.
- Drag the MaterialsAndServices object (referential) table and the Sales.Turnovers accumulation register virtual table to the Tables list.
In order to avoid name ambiguity in the query, let us rename the MaterialsAndServices table. - In the Tables list, right-click MaterialsAndServices, click Rename Table, and set the table name to MaterialsAndServicesCat (fig. 13.19).
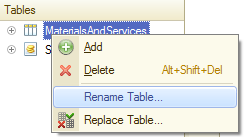
Fig. 13.19. Renaming a table in a query - Drag the following fields from these two tables to the field list:
- MaterialsAndServicesCat.Ref
- SalesTurnovers.RevenueTurnover (fig. 13.20)
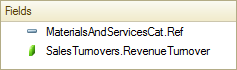
Fig. 13.20. Selected fields - Click the Links tab.
Since the query includes multiple tables, you have to specify how they are linked to each other.
By default the platform creates a link using the MaterialsAndServices field. This means that the value of the MaterialOrService dimension of the Sales register is equal to a reference to an item of the MaterialsAndServices catalog. - Clear the All checkbox for the SalesTurnovers table and select the All checkbox for the MaterialsAndServicesCat table.
This is how you specify Left join as the link type. In other words, the query result will include all the records of the MaterialsAndServices catalog and those records of the Sales register that meet the link condition based on the MaterialOrService field.
So the query result will contain all of the services, and sales revenues will be available for some services. No revenue values are displayed for services that were not rendered within the selected period.
The following example visually describes how the two tables shown above are linked to each other (fig. 13.21).
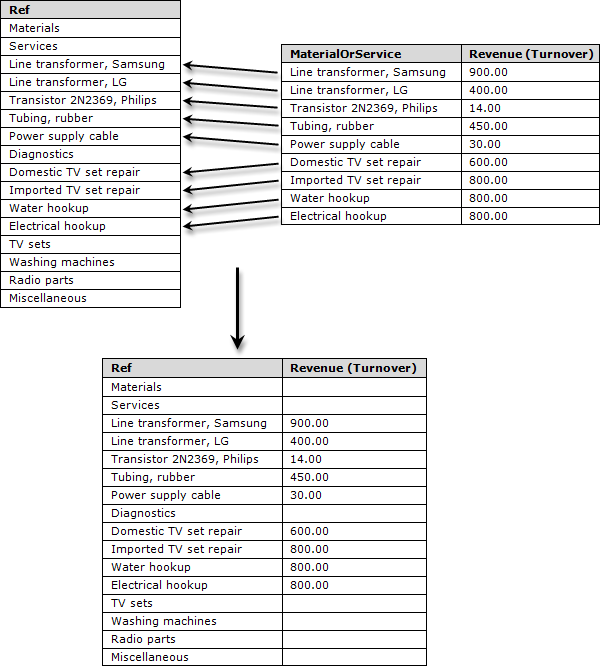
Fig. 13.21. Links between the table records in the query
Once you complete the procedure described in this section, the Links tab should look as shown in fig. 13.22.
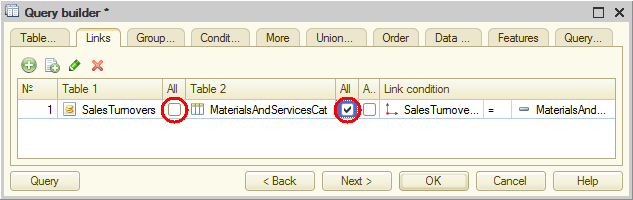
Fig. 13.22. Links between the tables
Next page: Record filter condition